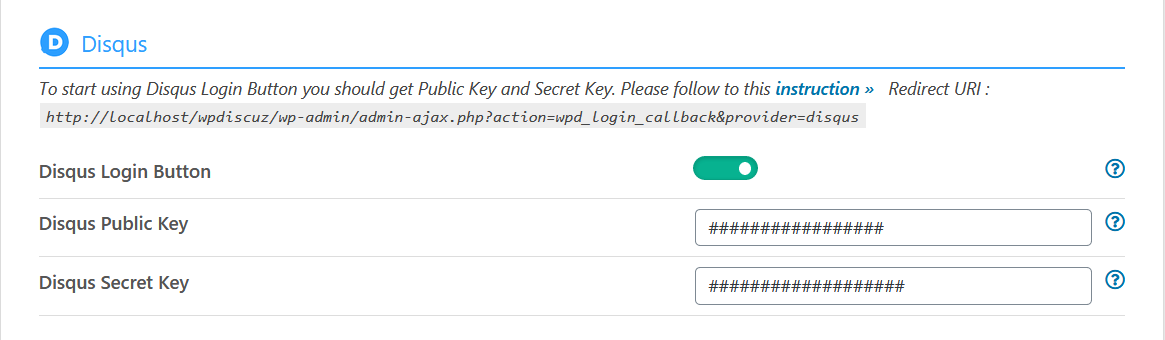
To start using Disqus Login Button you should create a Disqus app and fill the according wpDiscuz options in Dashboard > wpDiscuz > Settings > Social Login and Share admin page (Disqus section):
Creating Disqus App
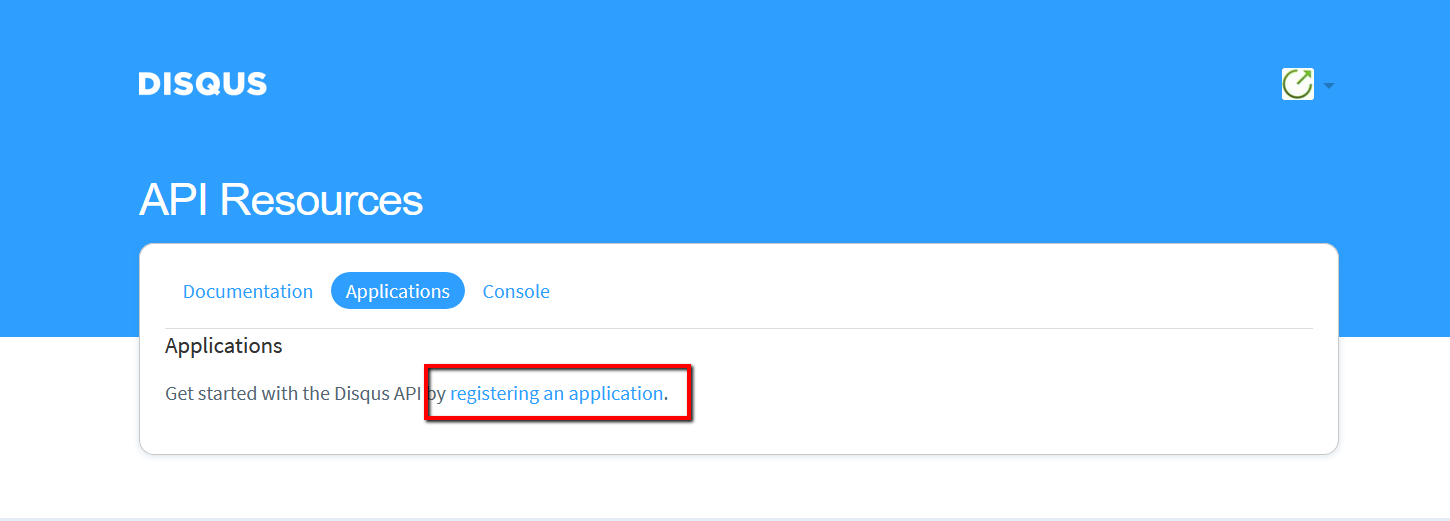
1. Navigate to https://disqus.com/api/applications/
2. Log in with your Disqus credentials if you are not logged in.
3. Click on the link “registering an application” under the Applications tab.
4. Enter a “Label” and “Description” for your App.
5. Fill “Website” with the url of your homepage, like: https://yoursite.com/
6. Complete the Human test and click the “Register my application” button.

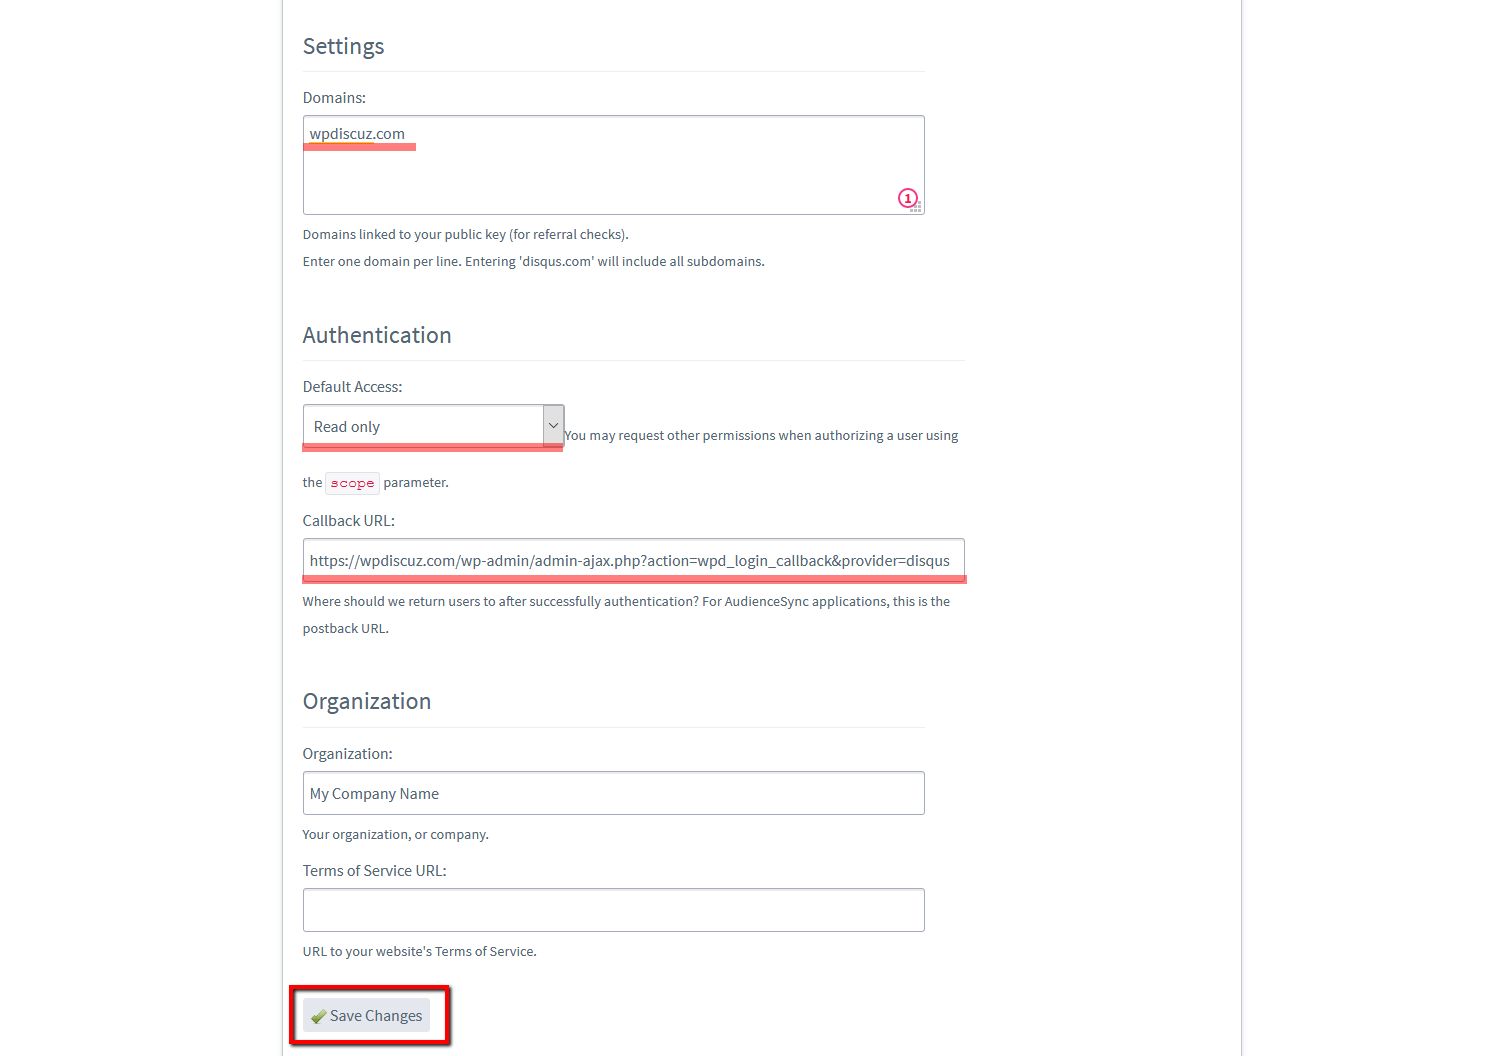
7. Fill the “Domains” field with your domain name like: yoursite.com
8. Select “Read only” at Default Access under the Authentication section.
9. Add your redirect URL to the “Callback URL” field, where yoursite.com is your domain: https://yoursite.com/wp-admin/admin-ajax.php?action=wpd_login_callback&provider=disqus
10. Click the “Save Changes” button!
11. Navigate to the “Details” tab of your Application!
12. Here you can see your “API Key” and “API Secret:”. These will be needed in the plugin’s settings.
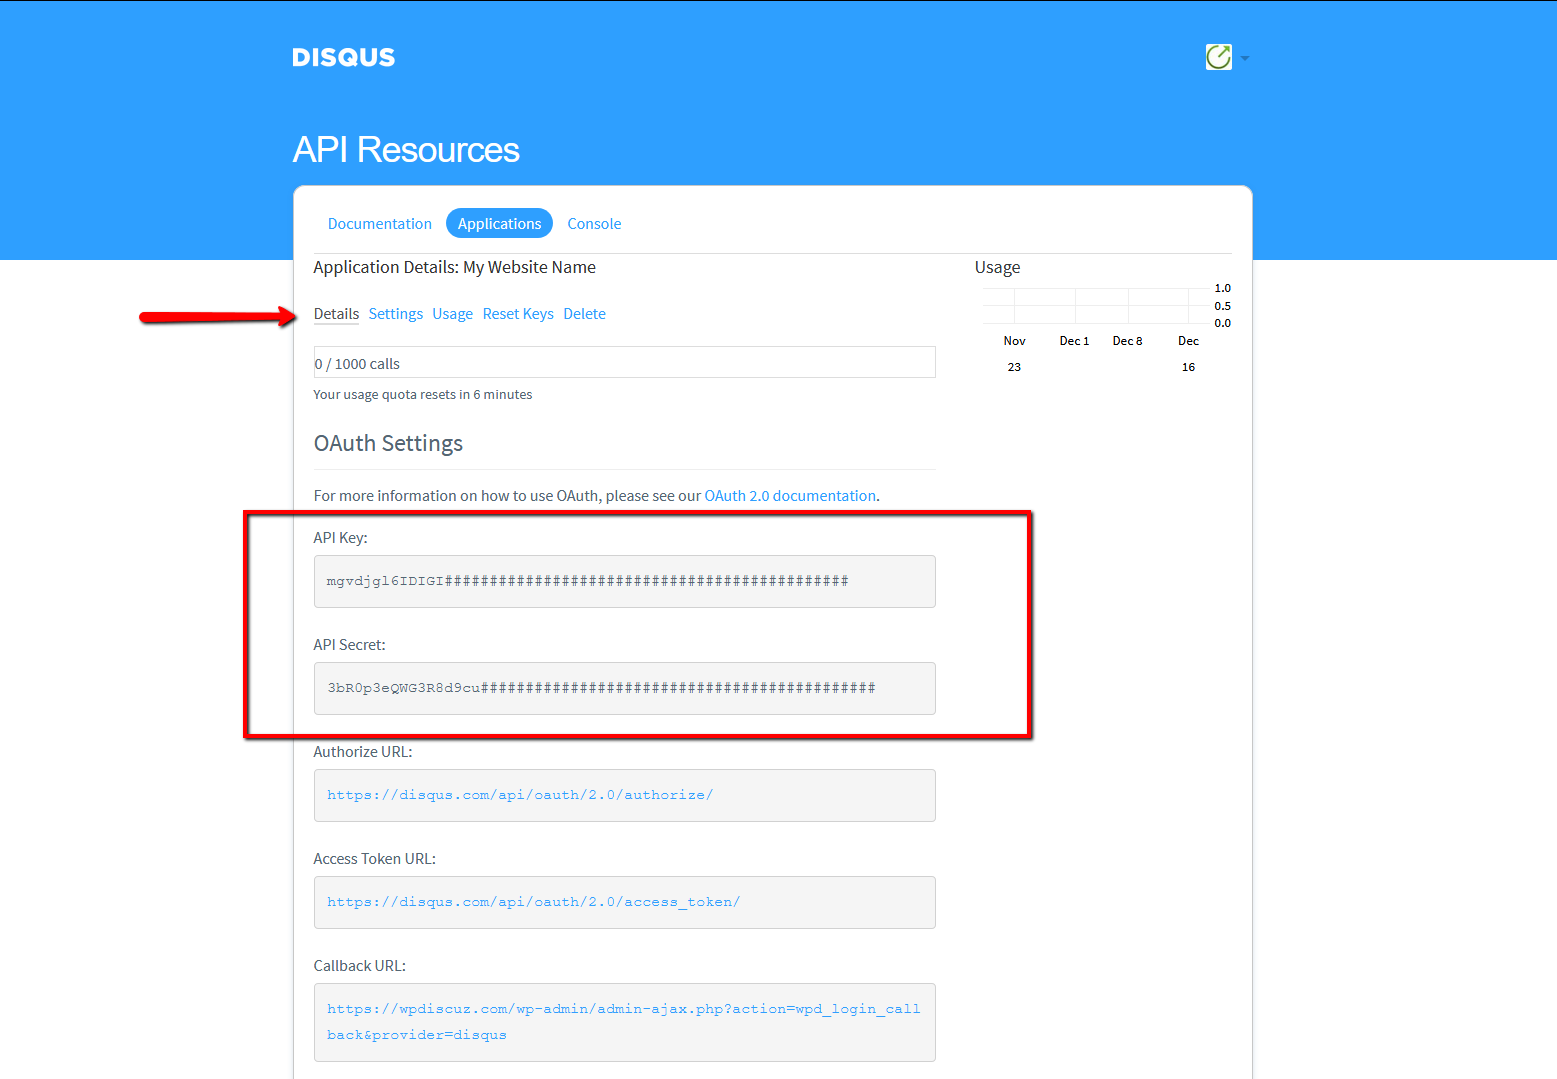
13. Copy “API Key” and “API Secret” and paste in according fields in Dashboard > wpDiscuz > Settings > Social Login and Share admin page (Disqus section) and save options.