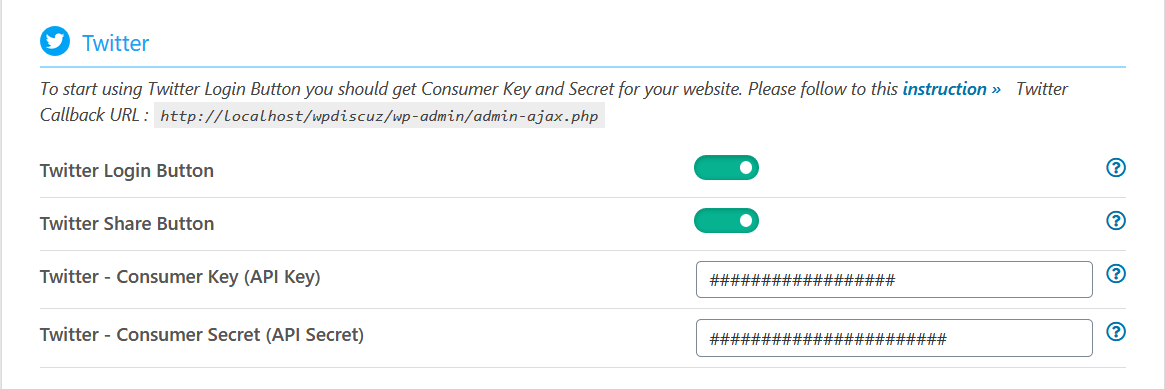
To start using Twitter Login Button you should get Twitter Consumer Key (API Key) and Consumer Secret (API Secret), then fill these in according wpDiscuz options in Dashboard > wpDiscuz > Settings > Social Login and Share admin page (Twitter section):
Getting Twitter Consumer Key and Secret
1. Firstly, login to your Twitter account.
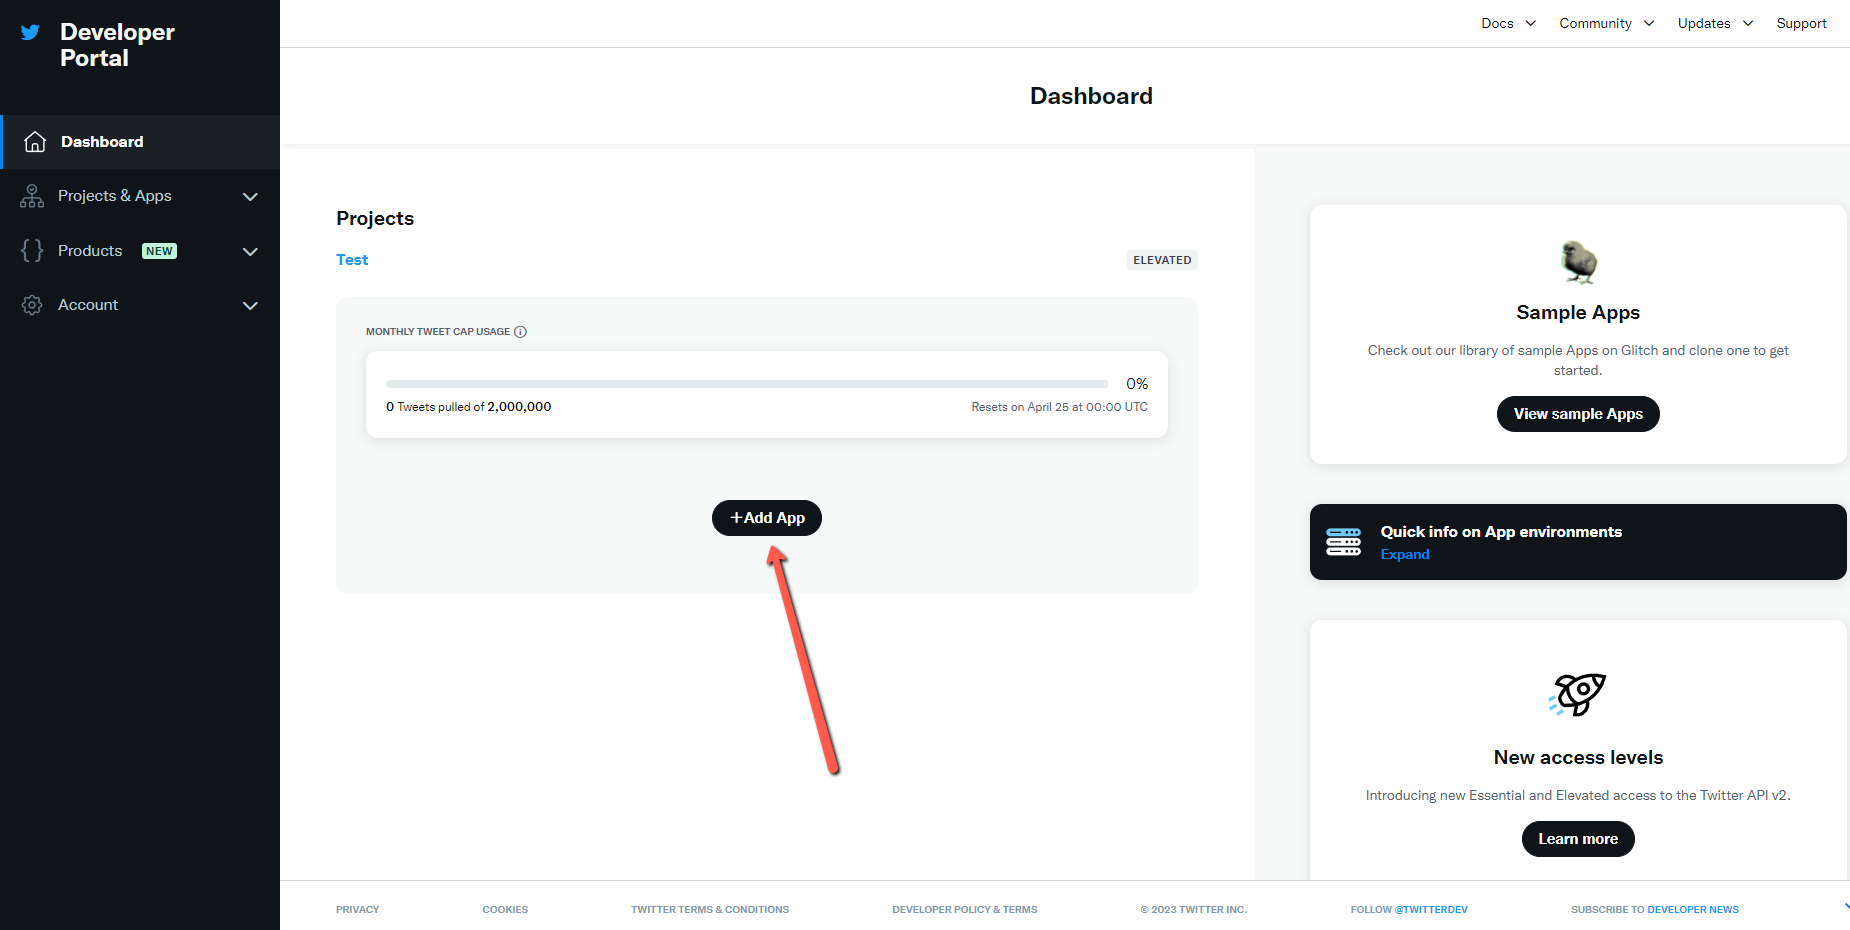
2. Navigate to the Twitter Application Management page.
3. After that, click the [Add App] button.
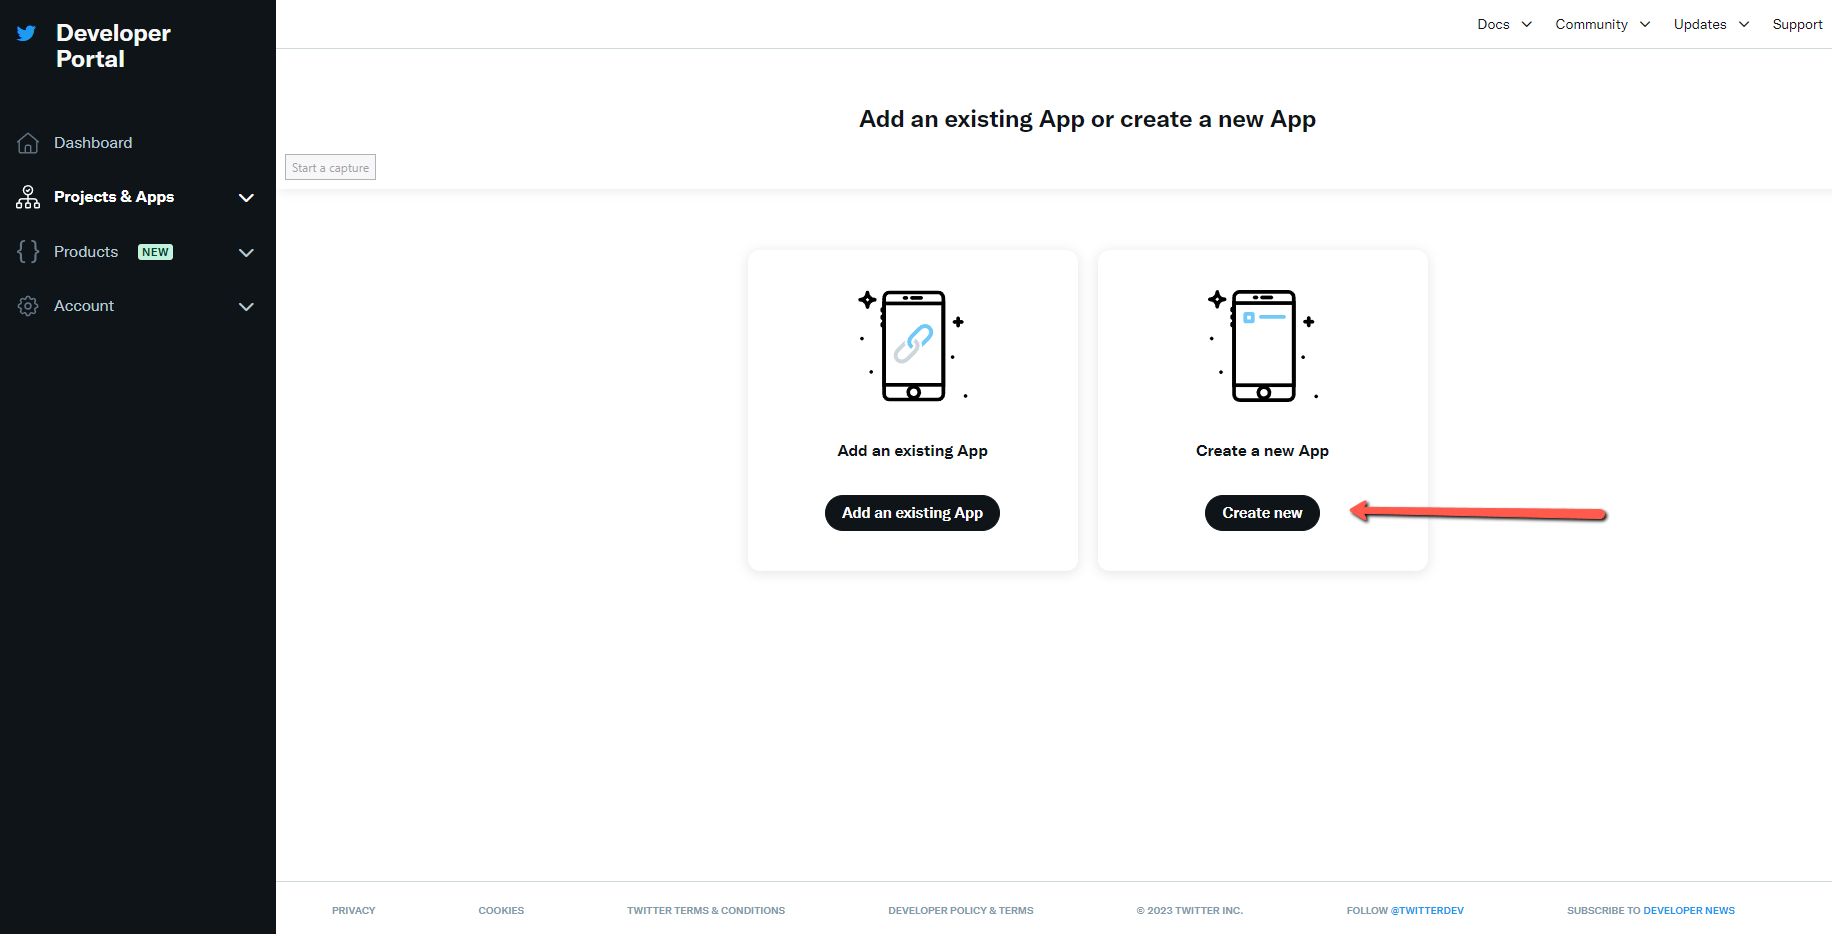
4. Then choose the “Create new” option.
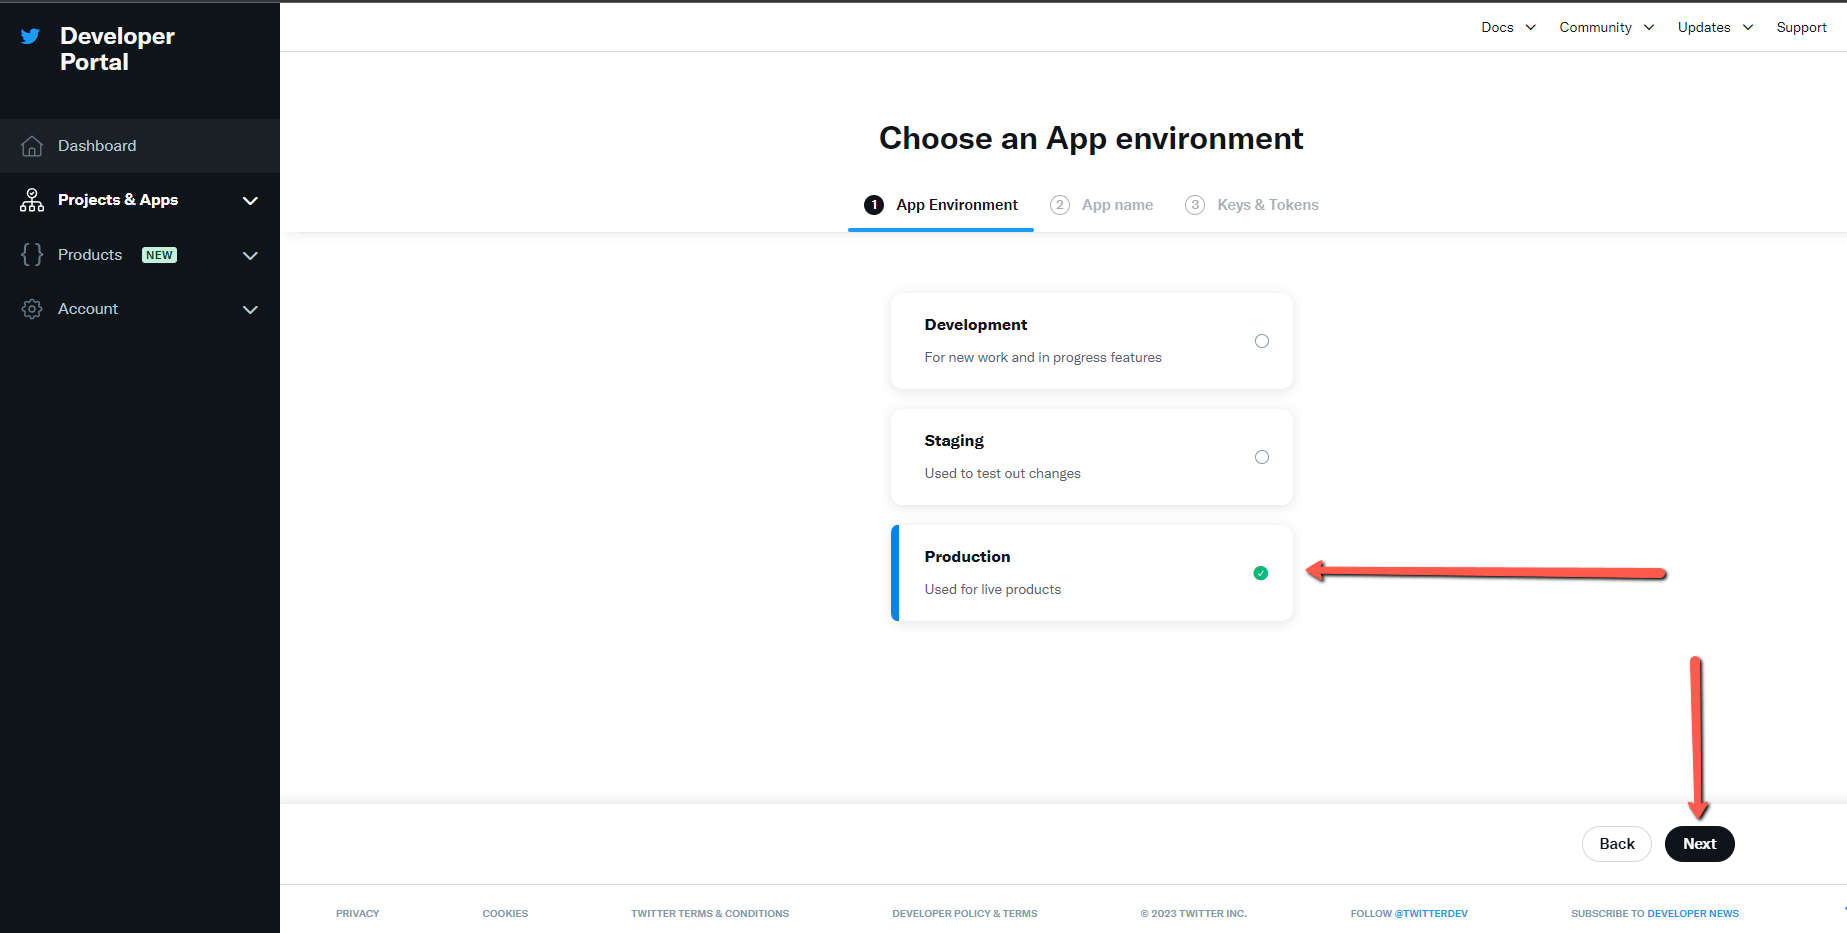
5. In the “Choose an App Environment” section choose the “Production” option and click on the “Next” button for further configurations.
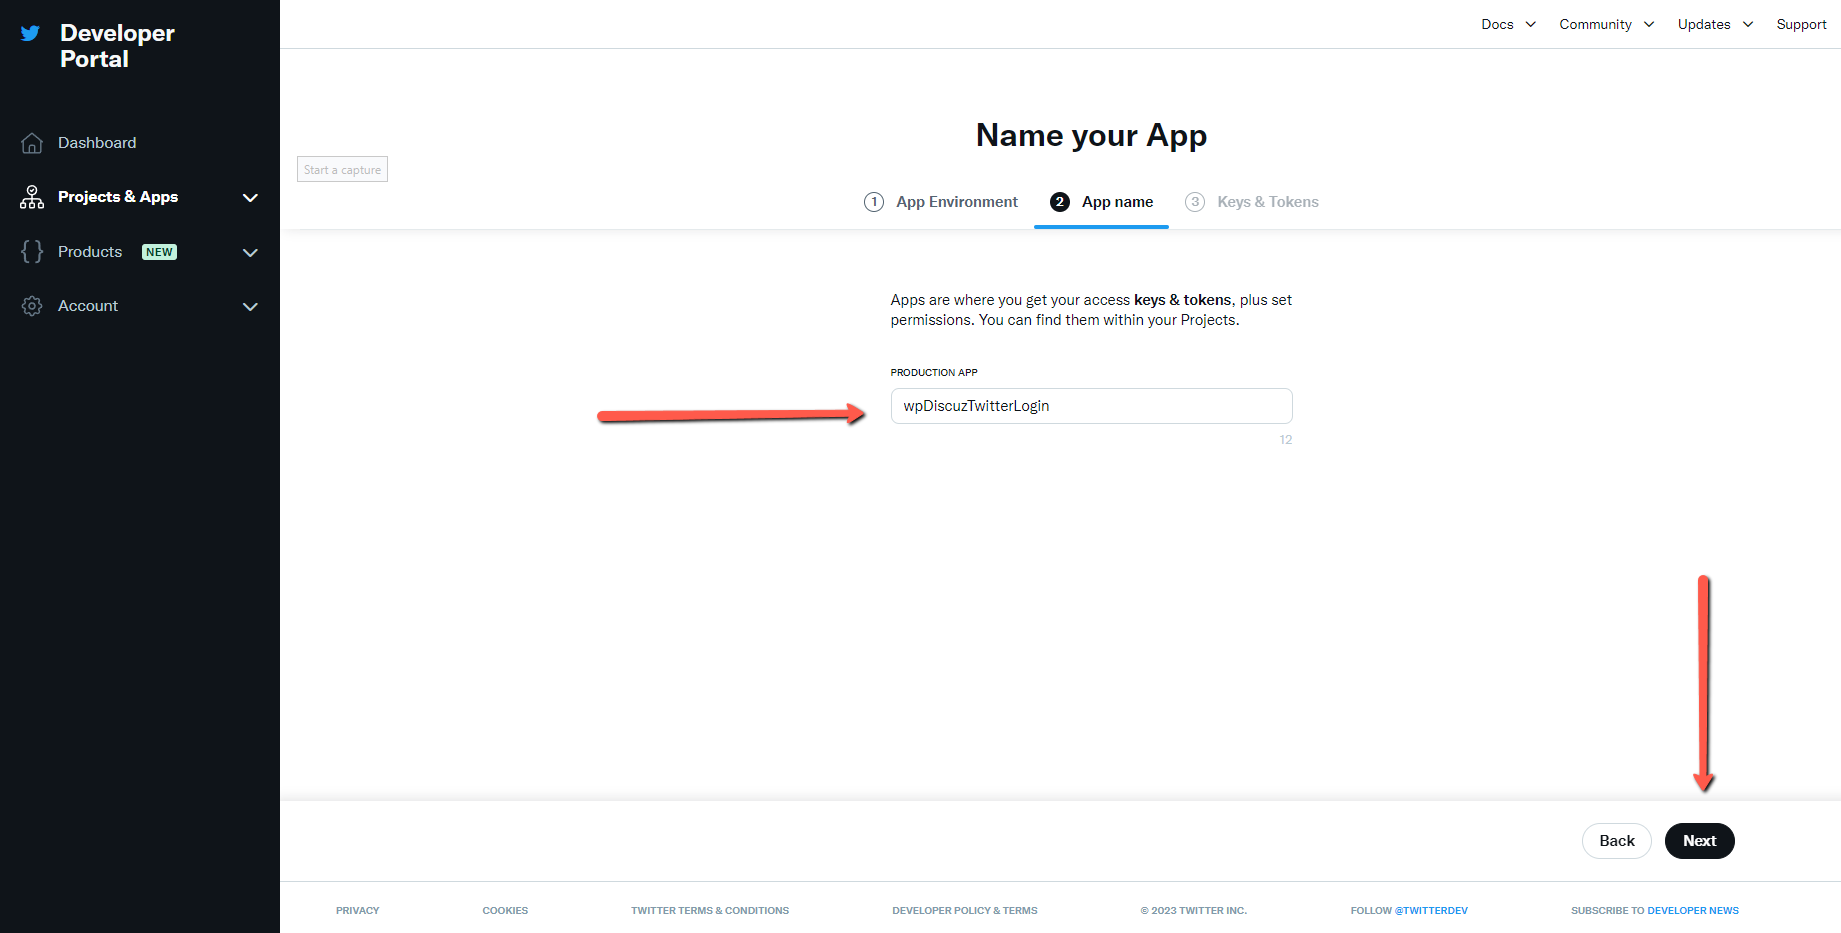
6. Enter the name of the newly created App and click on the “Next” button, so you’ll see the “API Key” and the “API Key Secret”
7. In the “Keys & Tokens” tab, you will find the “API Key” and the “API Key Secret”.
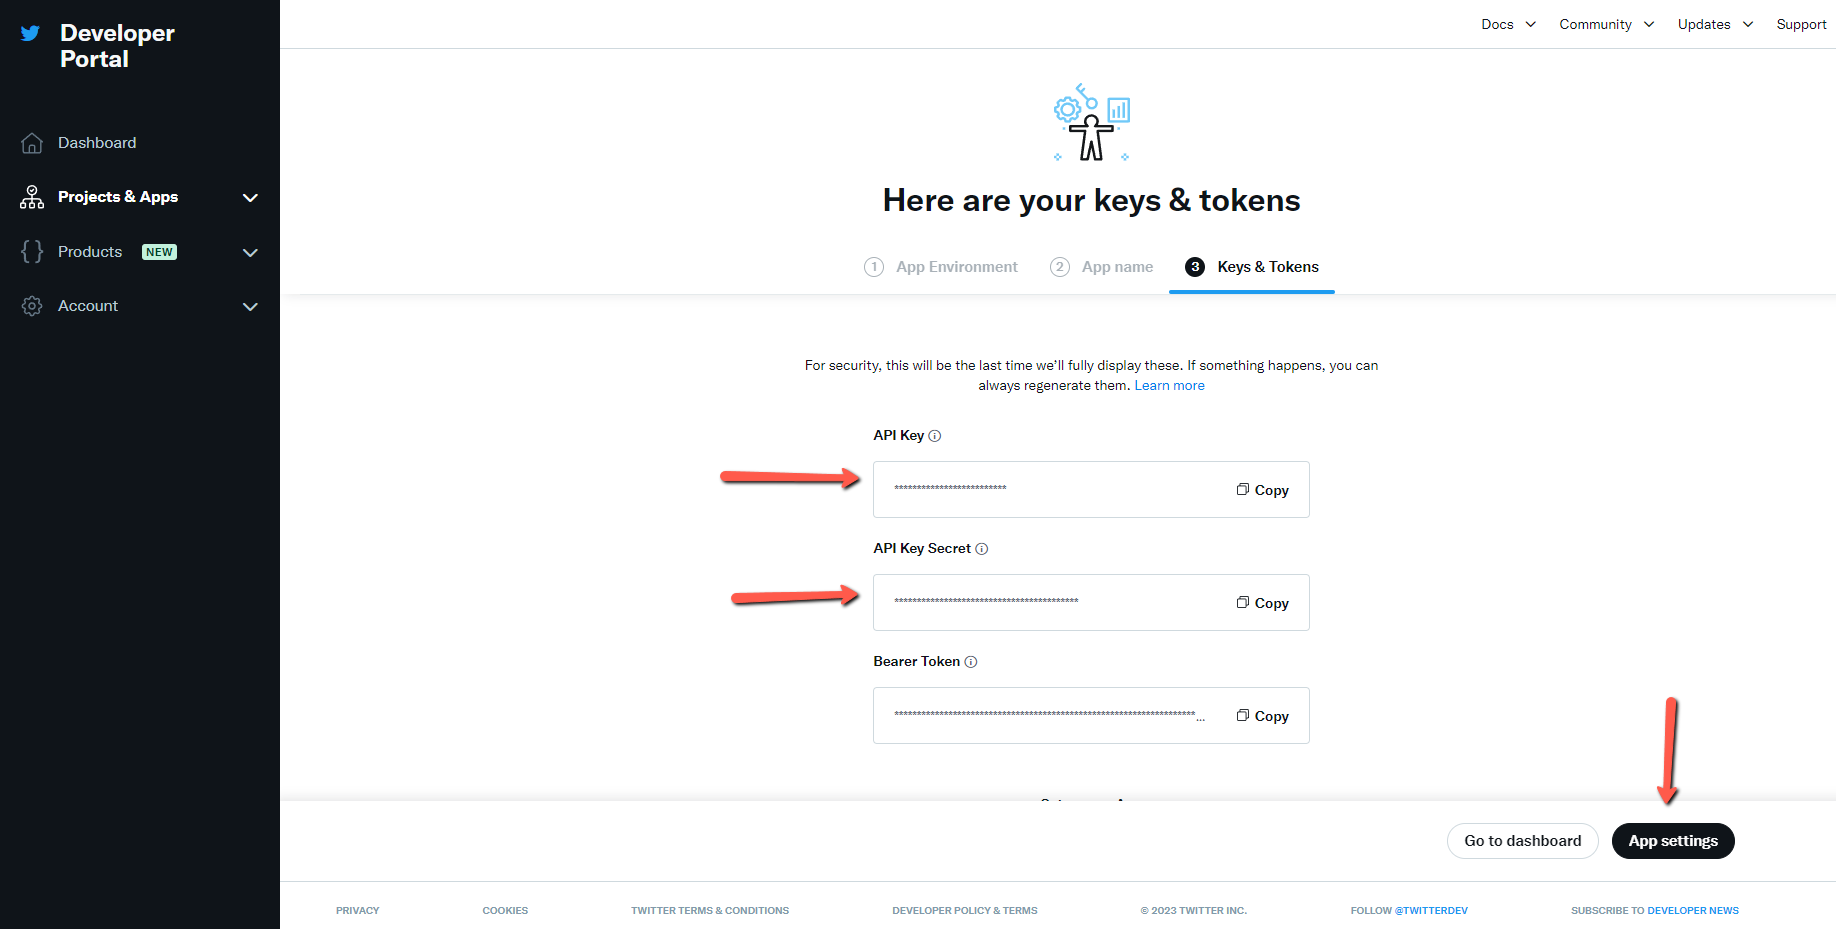
8. Navigate to Dashboard > wpDiscuz > Settings > Social Login and Share admin page, paste the “API Key” and the “API Key Secret” in according fields of the Twitter Section. However, before starting to use those you should go to the App setting section and configure the settings according to the steps provided below.
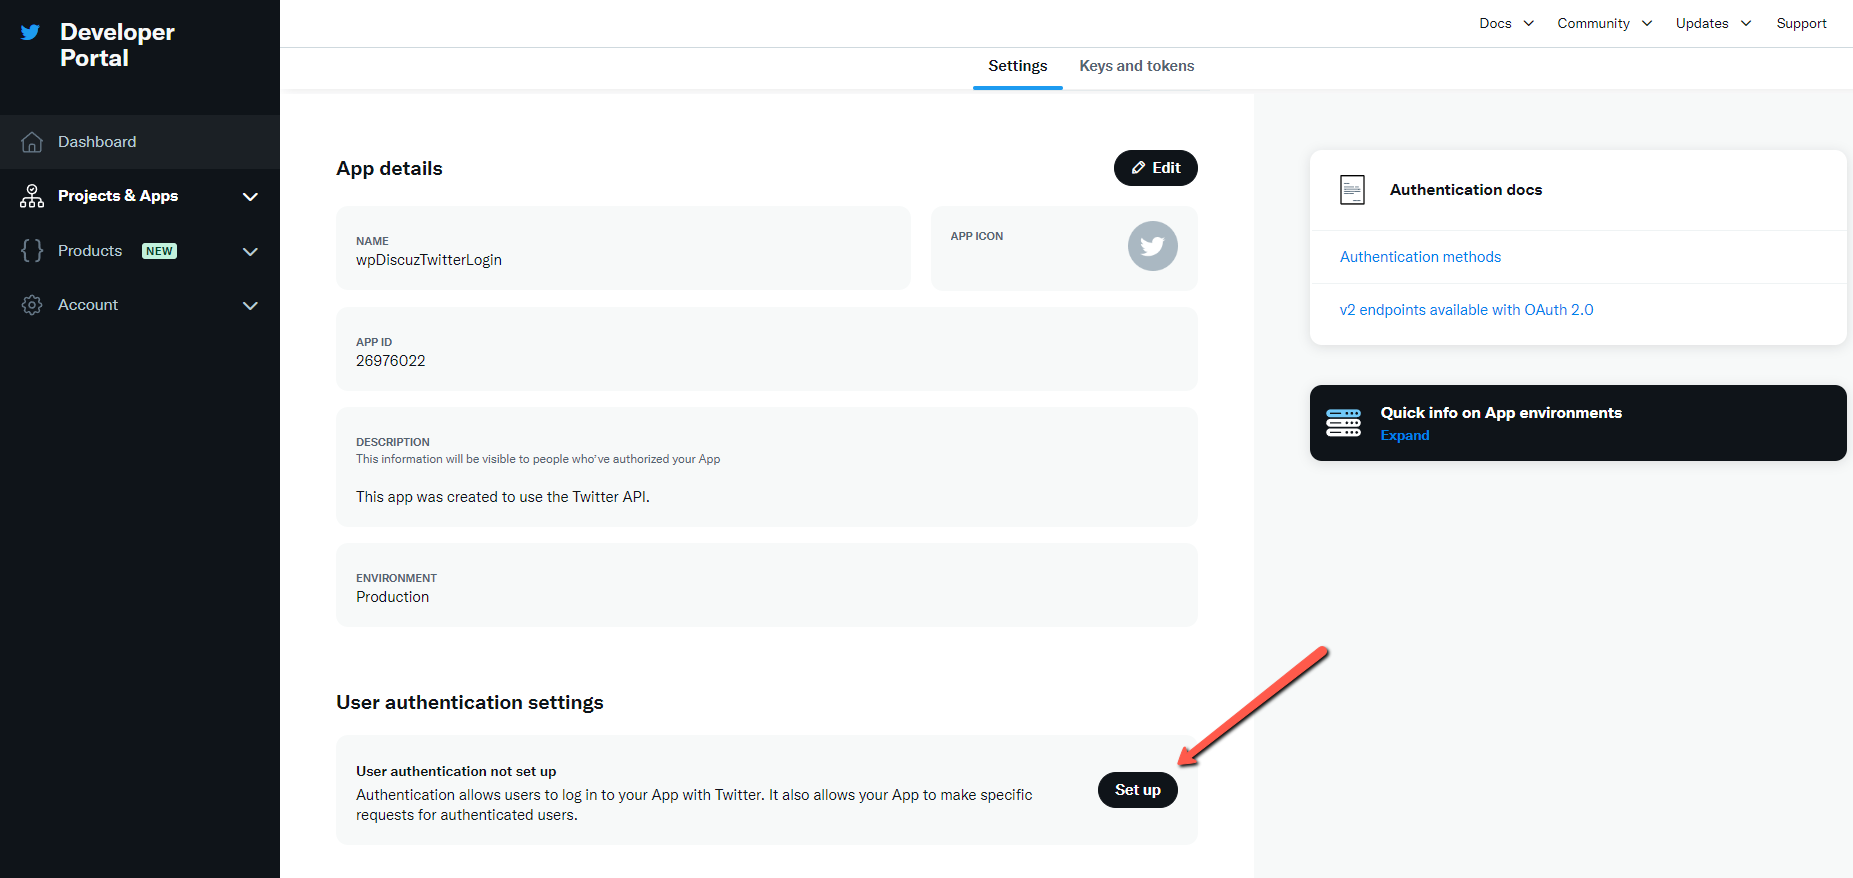
9. On the “Settings” page, click on the “Set Up” button.
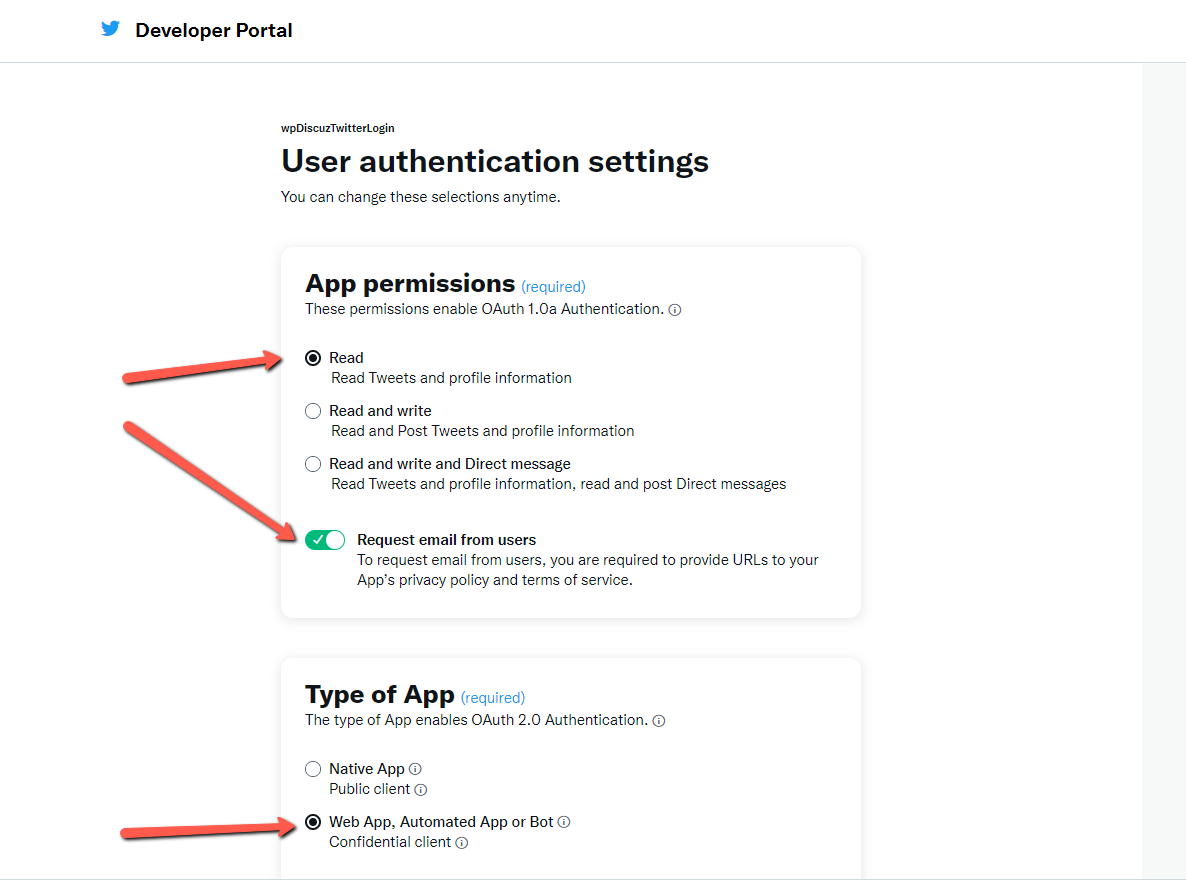
10. Then set the values and fill in the fields of the application form.
- App permissions: Read
- Enable the “Request email from users” checkbox
- Select the “Web APP, Automated APP or Bot” option in the “Type of APP” section
- Callback URI/Redirect URL: https://your-domain/wp-admin/admin-ajax.php
- Website URL: your website address
- Organization name: you can insert your website name
- Organization URL: you can insert your website address
- Terms of service: the URL of your website Terms page
- Privacy Policy: the URL of your website Privacy Policy page
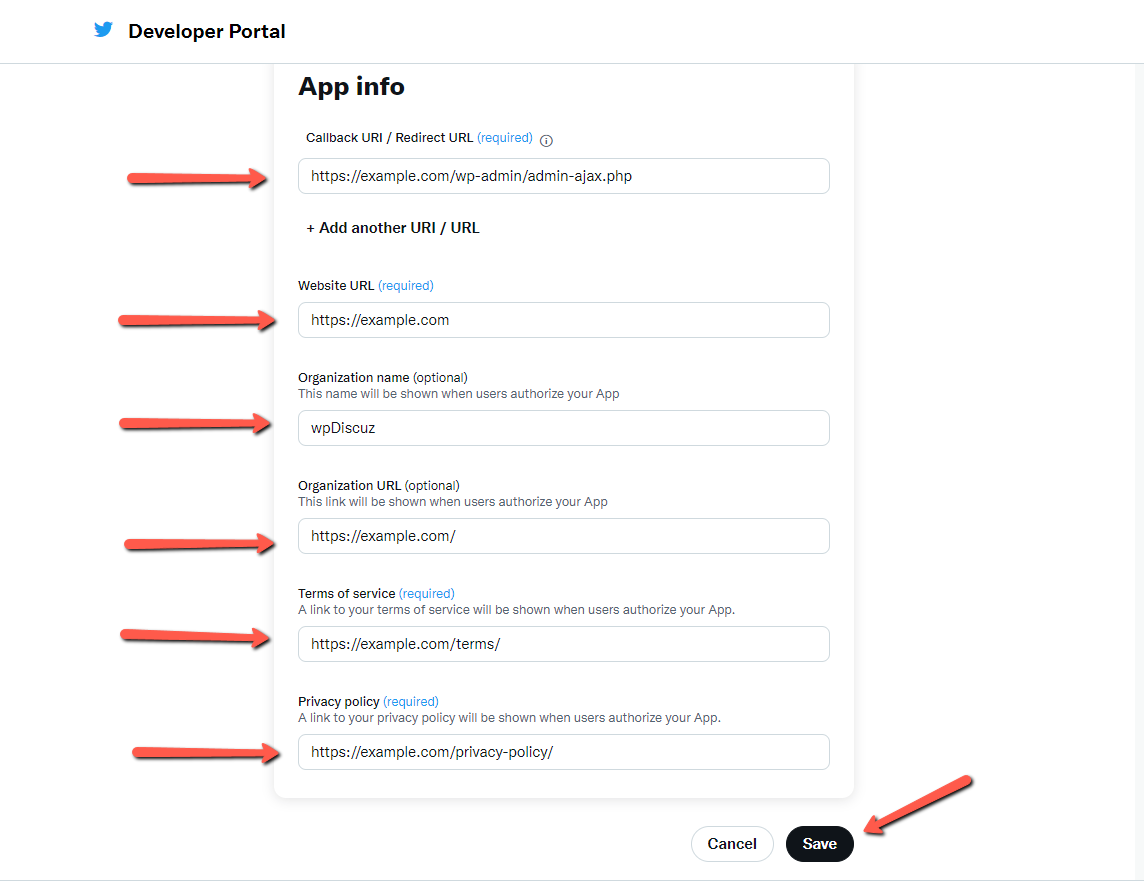
Don’t forget to click on the “Save” button, to save all changes.