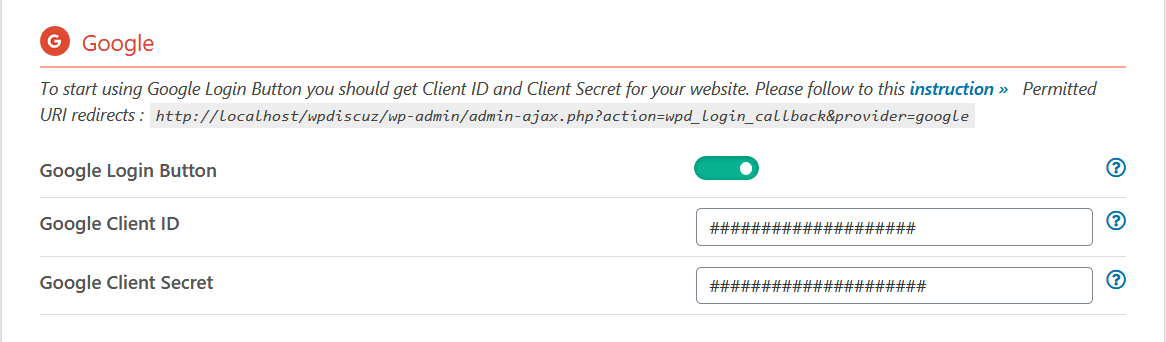
To start using Google+ Login Button you should get Google Client ID and fill the according wpDiscuz options in Dashboard > wpDiscuz > Settings > Social Login and Share admin page (Google section):
1. Getting Google Client ID
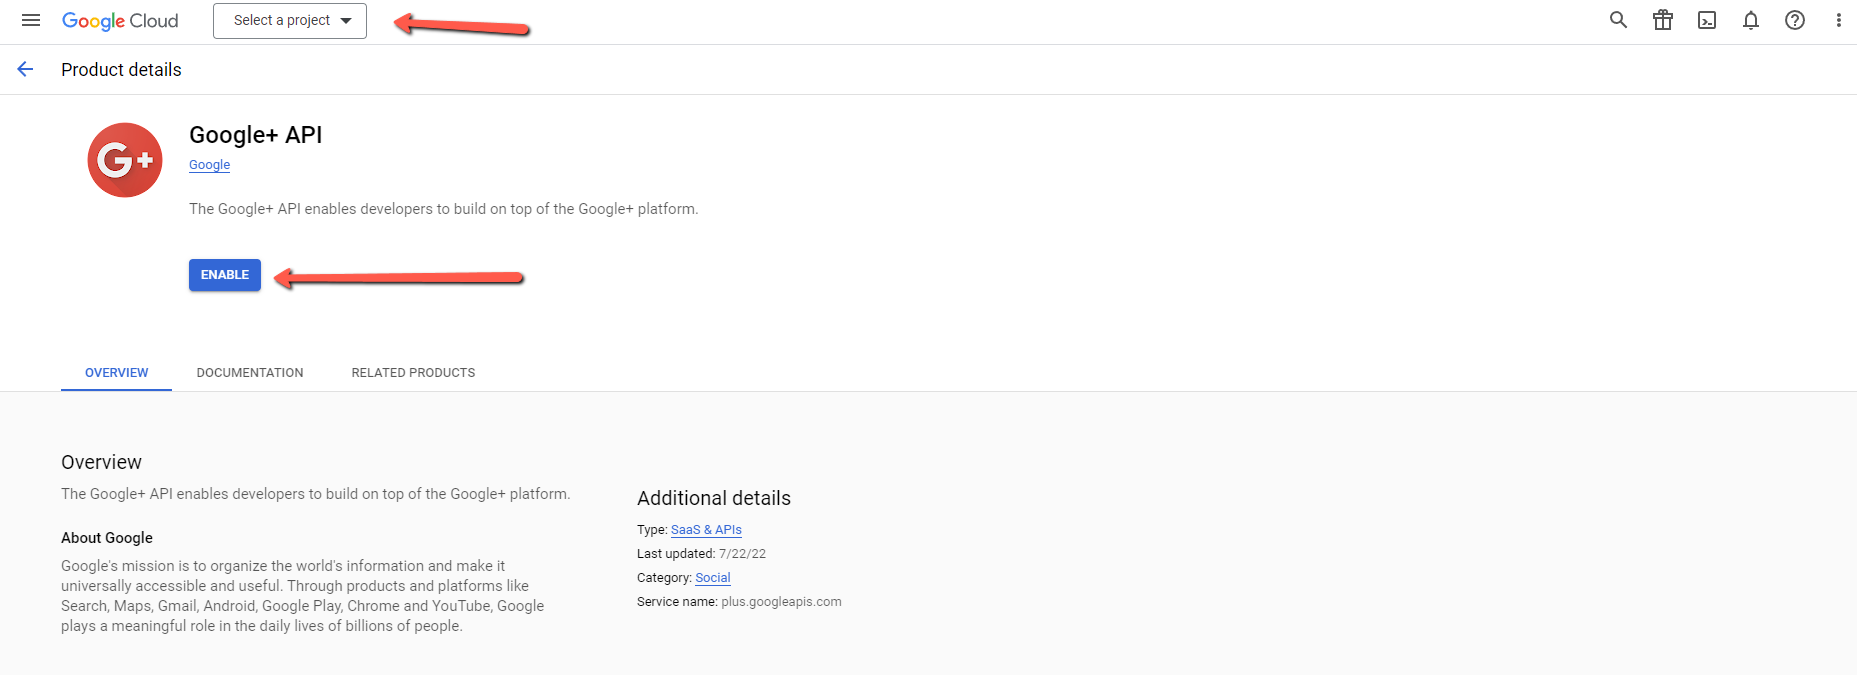
1. Login with your Google account and go to the developer console website: https://console.developers.google.com/apis/library/plus.googleapis.com?authuser=1
2. Create or Choose a Project.
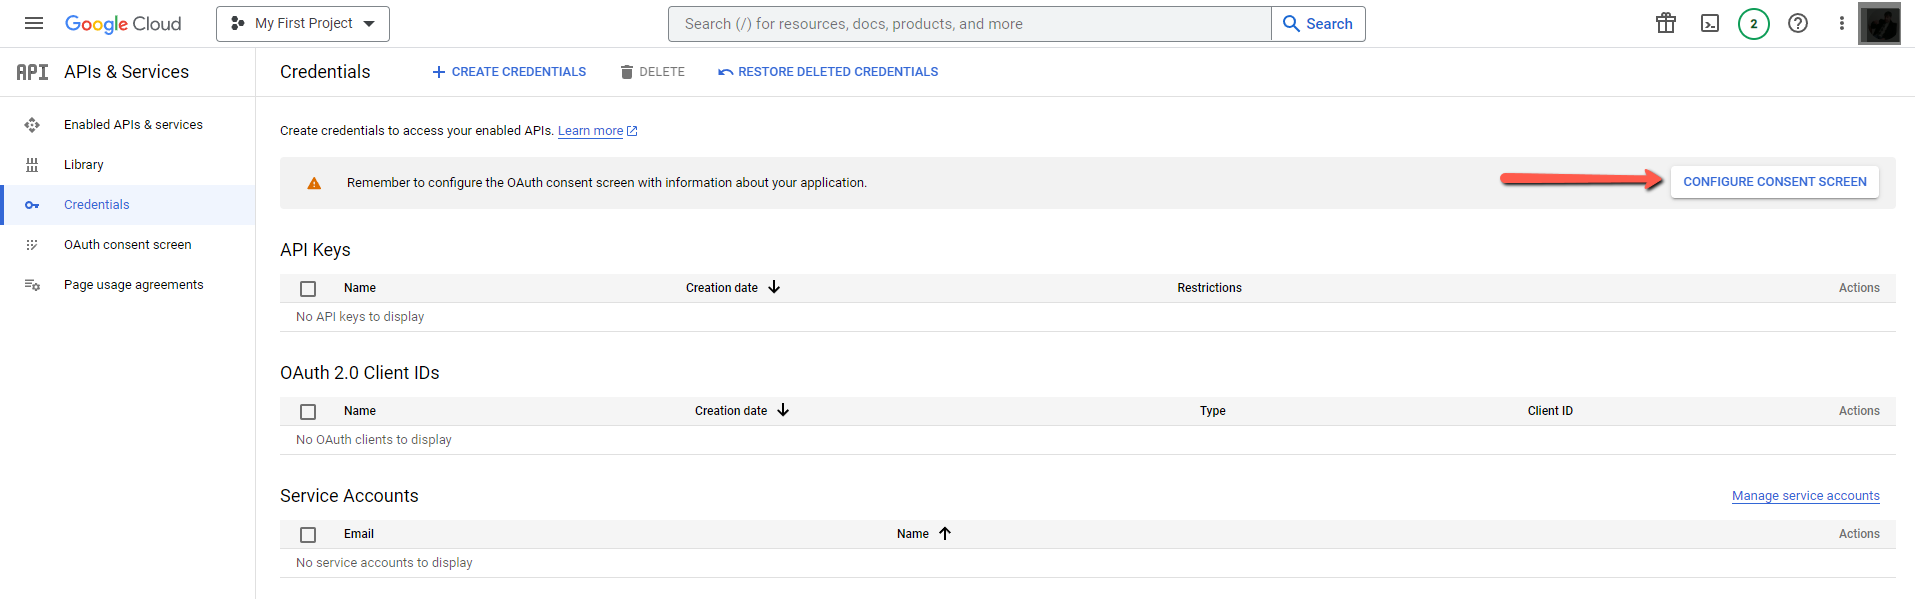
3. Click on the “Credentials” in the left-hand menu to create new API credentials

4. Here find and click the “CONFIGURE CONSENT SCREEN” button
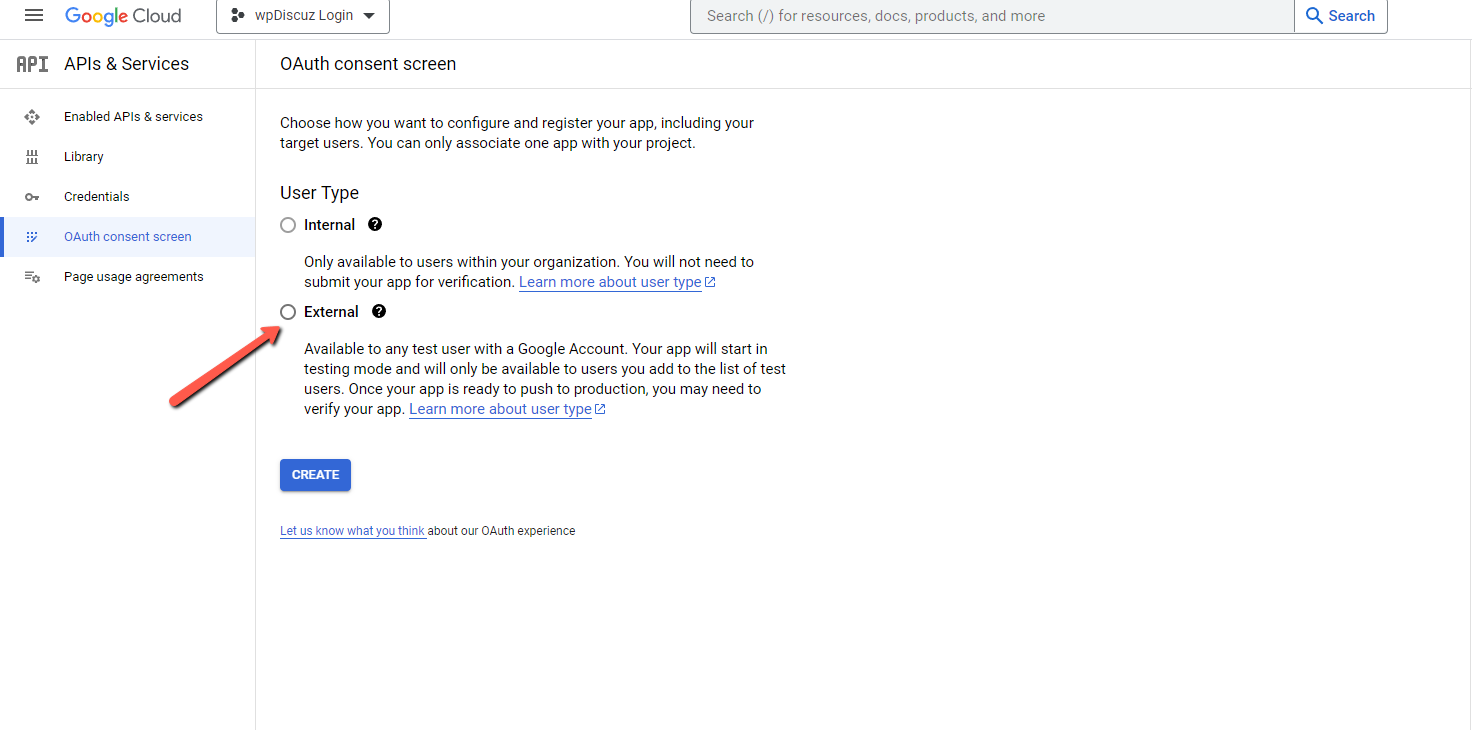
5. In the OAuth consent screen, choose the “External” option:
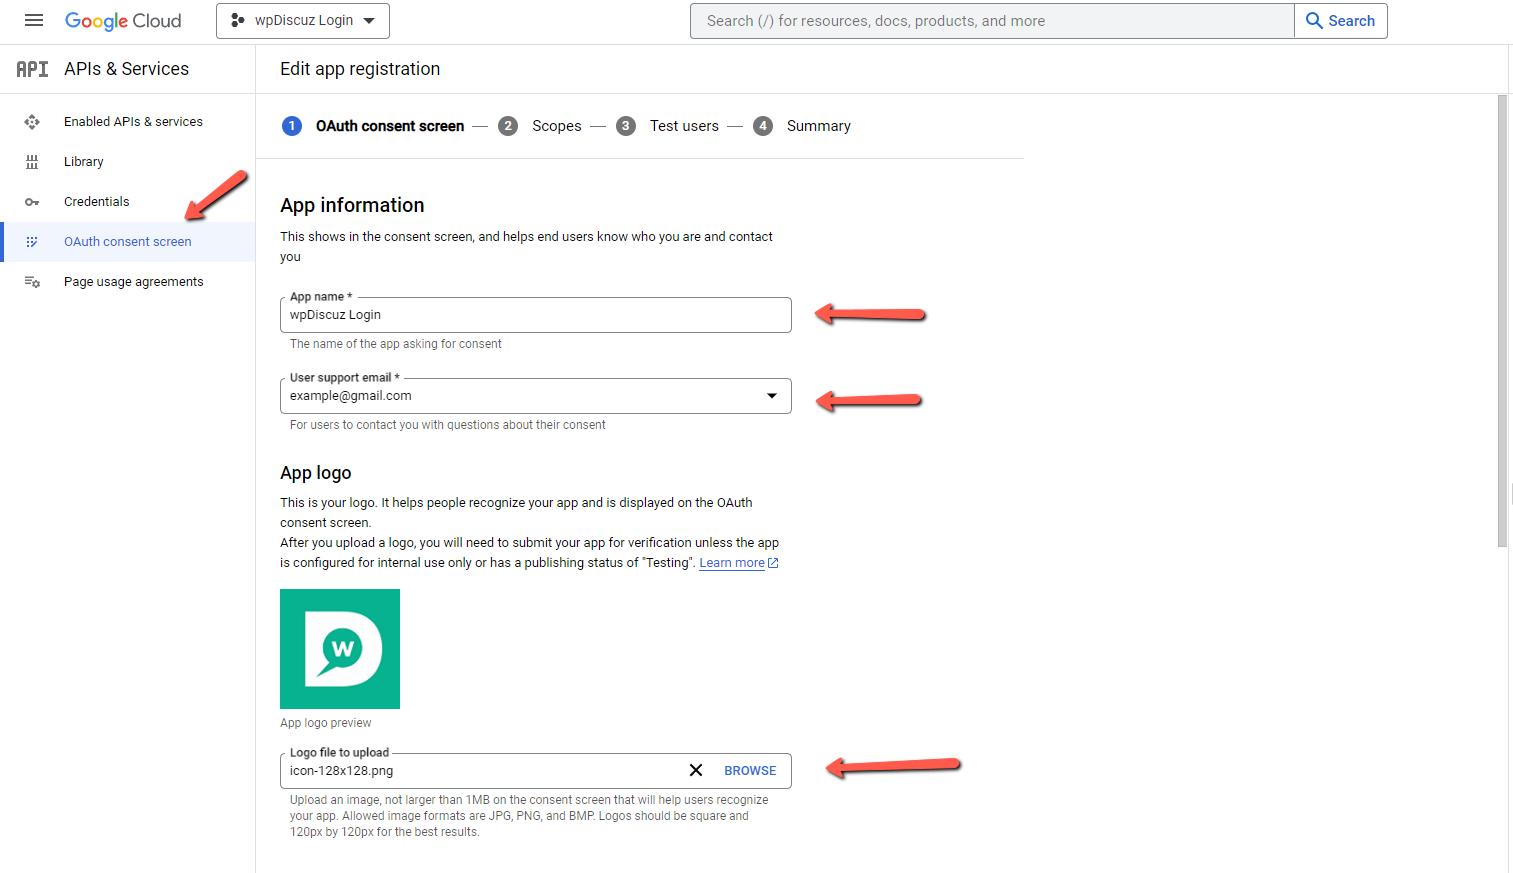
6. Here, in the App information section fill the necessary information and click on the “SAVE AND CONTINUE” button.

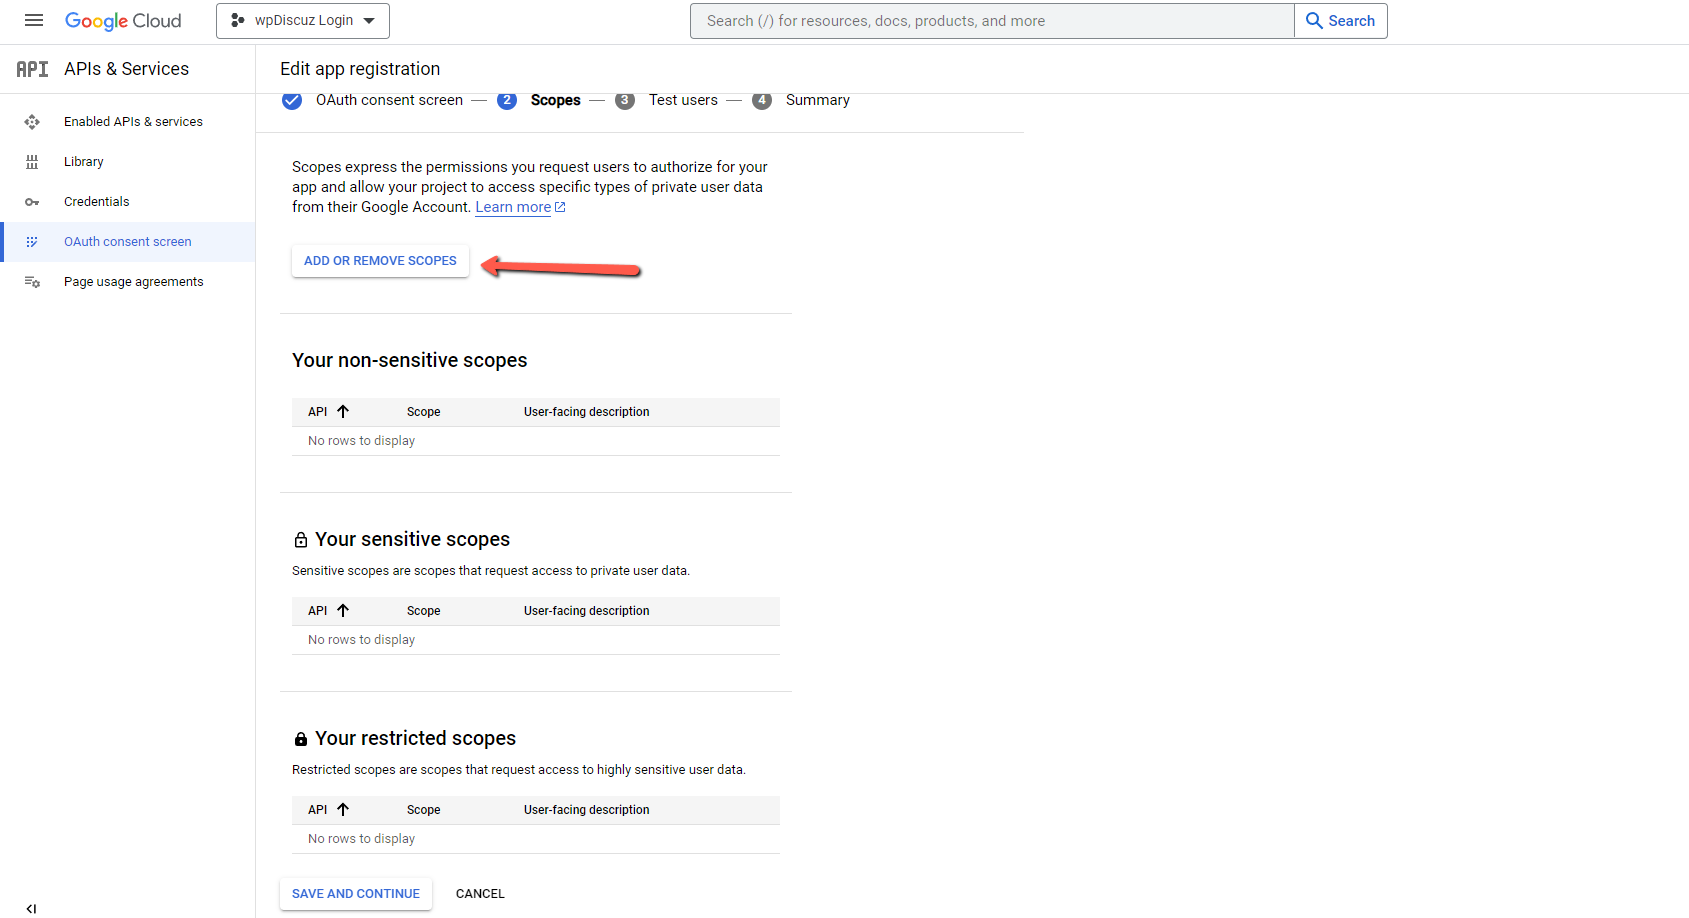
7. You will now be redirected to Step 2 in Scopes. Click on the “ADD OR REMOVE SCOPES” button to select the scopes.
8. Select the options as it’s shown in the screenshot:
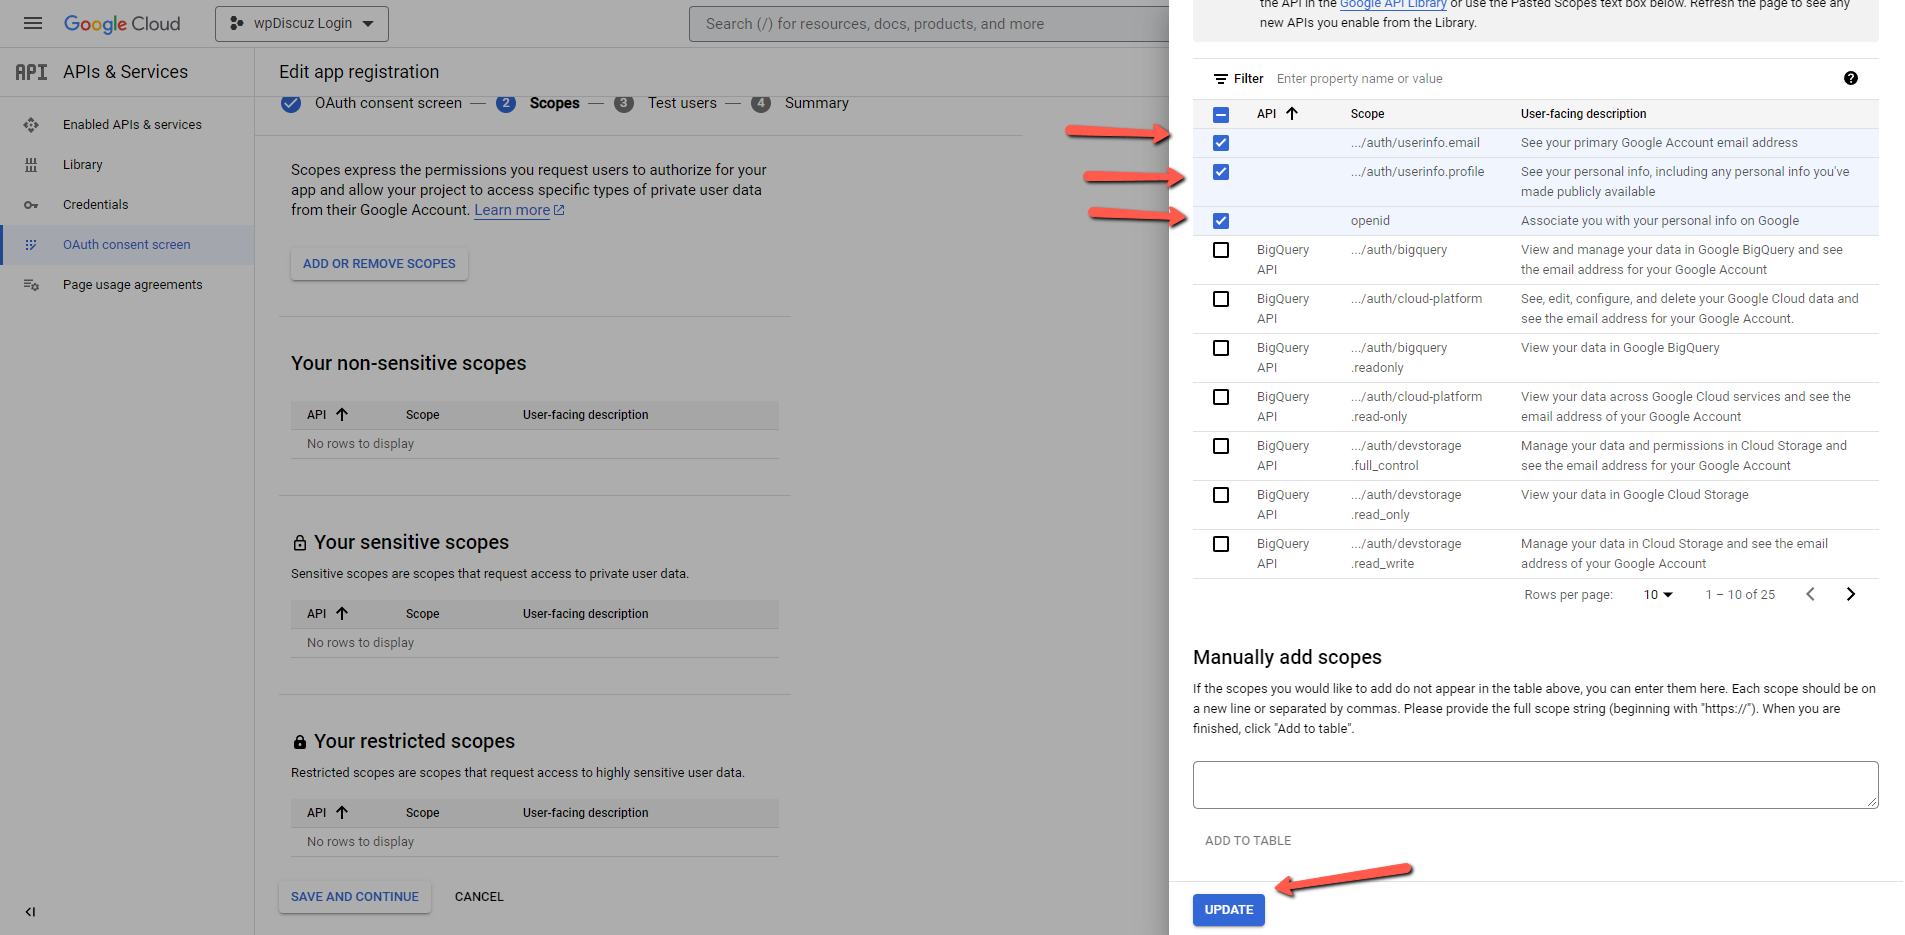
Once those are selected click on the “UPDATE” button.
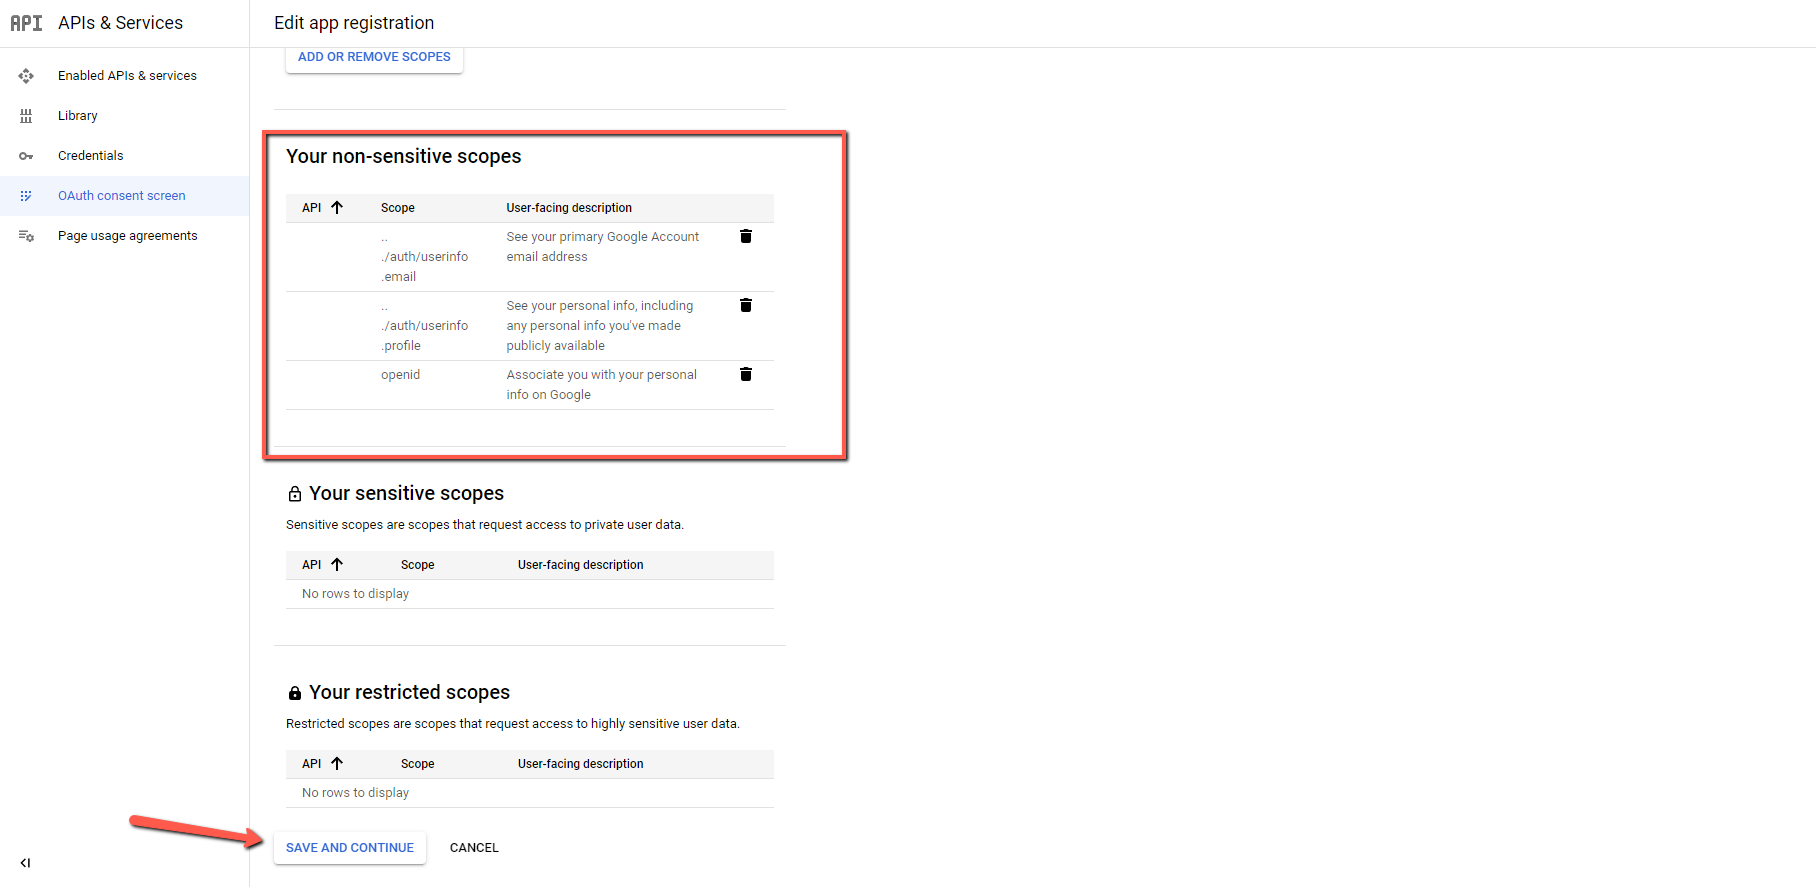
9. The selected scopes will now appear on “Your non-sensitive scopes”. You just need to click the “SAVE AND CONTINUE” button.
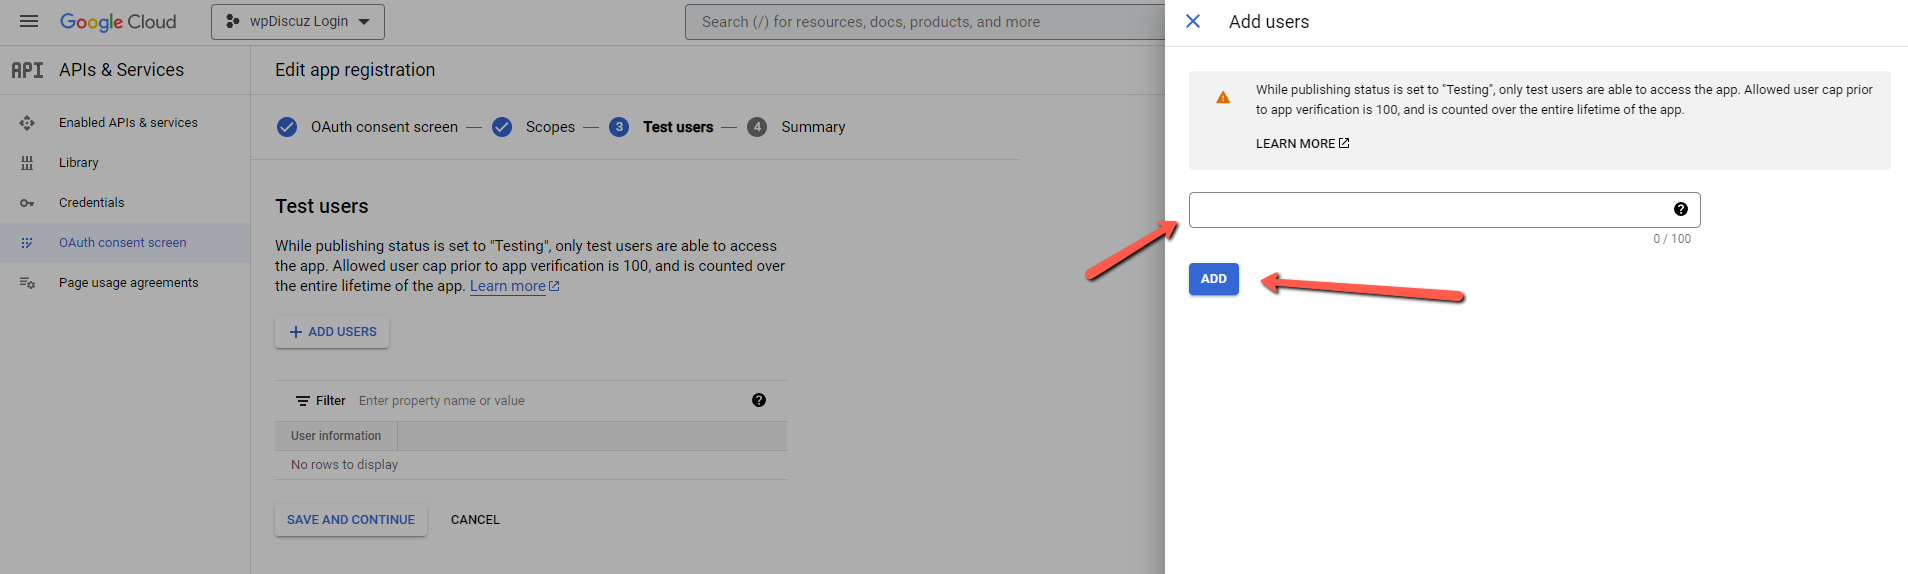
10. In this step, you can add Test Users to test how the social login feature works:

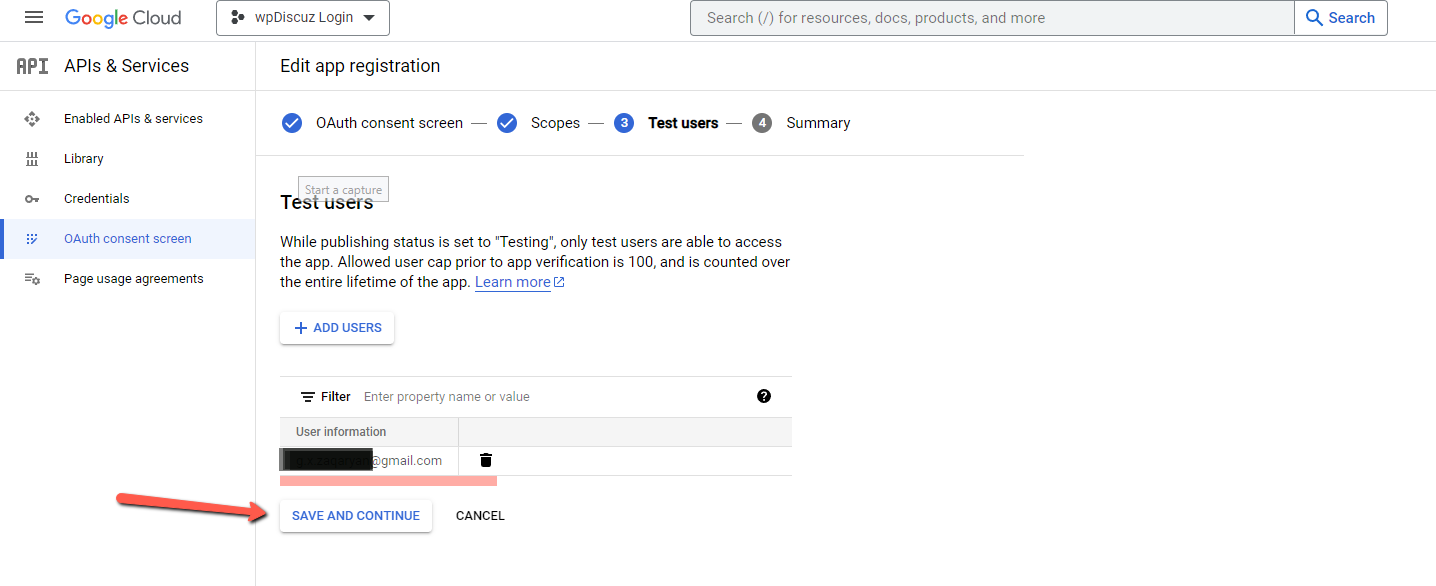
11. Check the user information and click on the “SAVE AND CONTINUE” button.
12. The summary will show you the outline of your app registration. Here click on the “Back to Dashboard” button.
13. To create credentials, go to Credentials > +CREATE CREDENTIALS and select OAuth client ID.

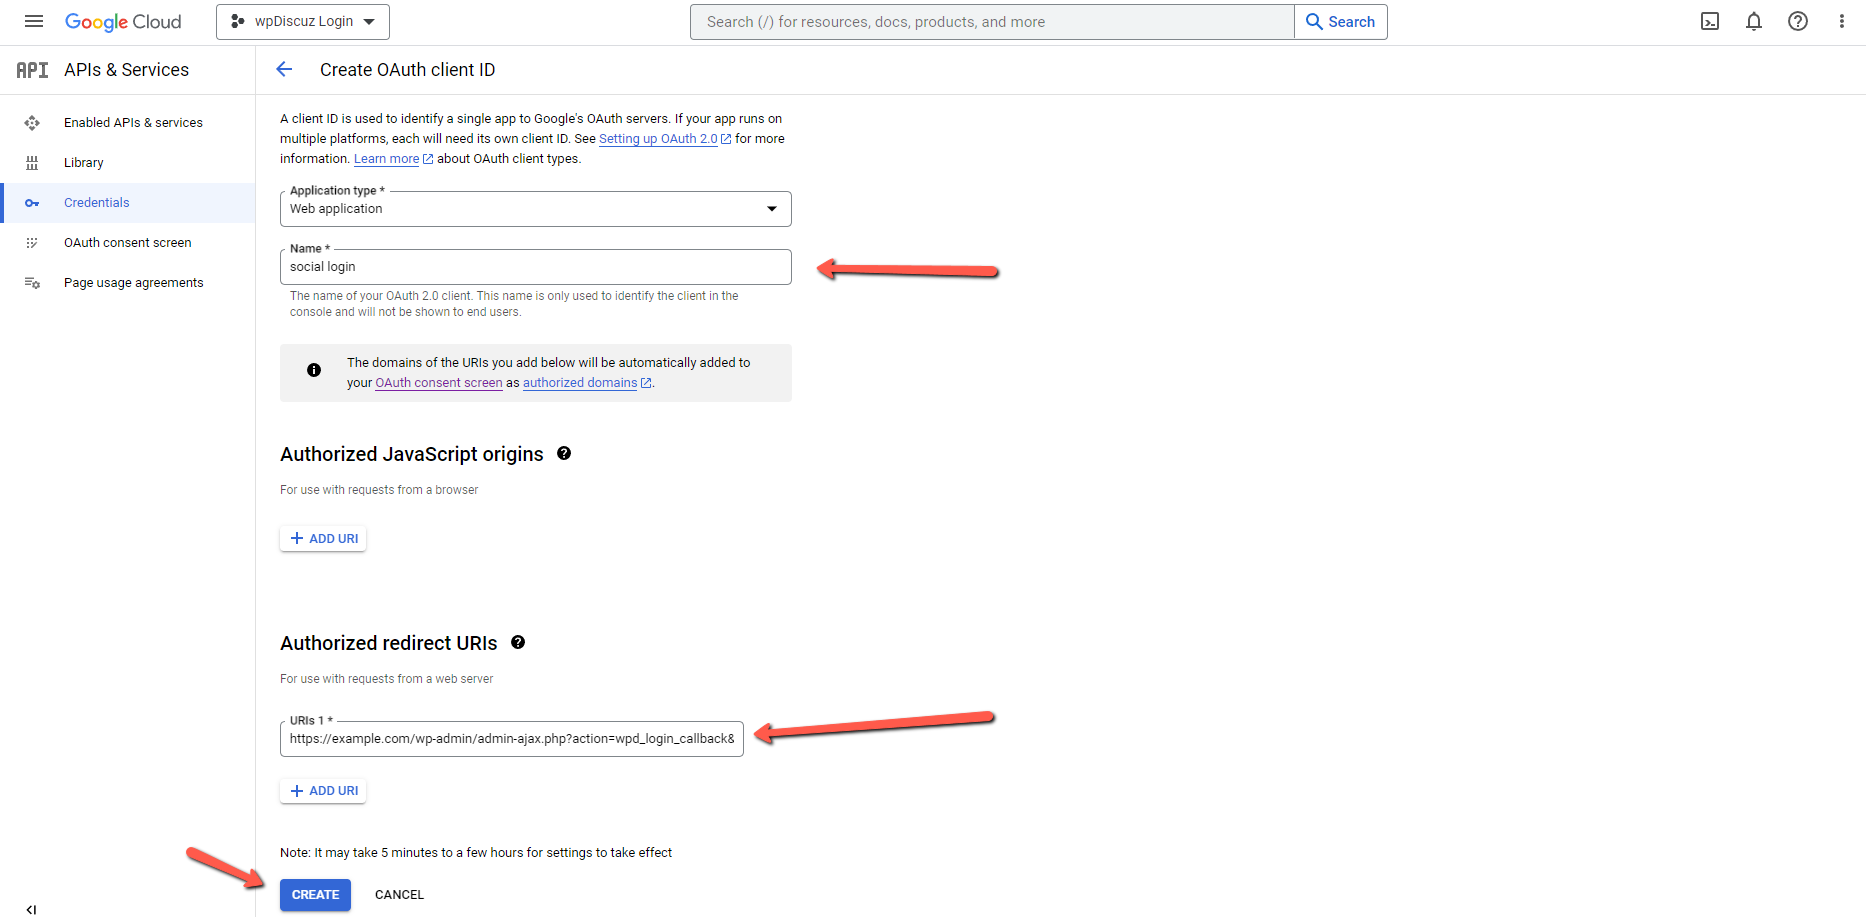
13. Once it’s clicked, you’ll be redirected to Create OAuth client ID page. Follow the steps below:
- Choose the “Application type”
- Fill the “Name field”
- Fill the value in the Authorized redirect URIs field.
To get the Authorized redirect URIs value, go to the Dashboard > wpDiscuz > Settings > Social Login and Share admin page (Google section):
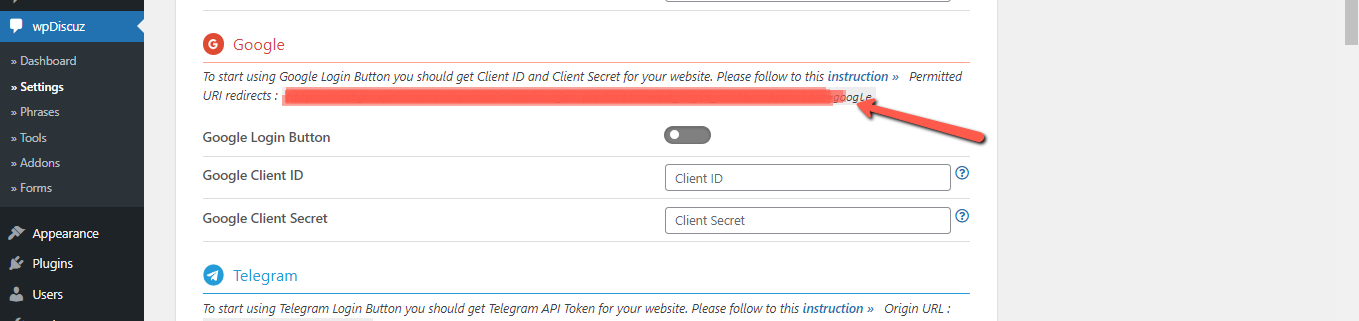
14. Copy and paste the ” Your Client ID key” and “Your Client Secret” into Dashboard > wpDiscuz > Settings > Social Login and Share admin page (Google section) and save options.

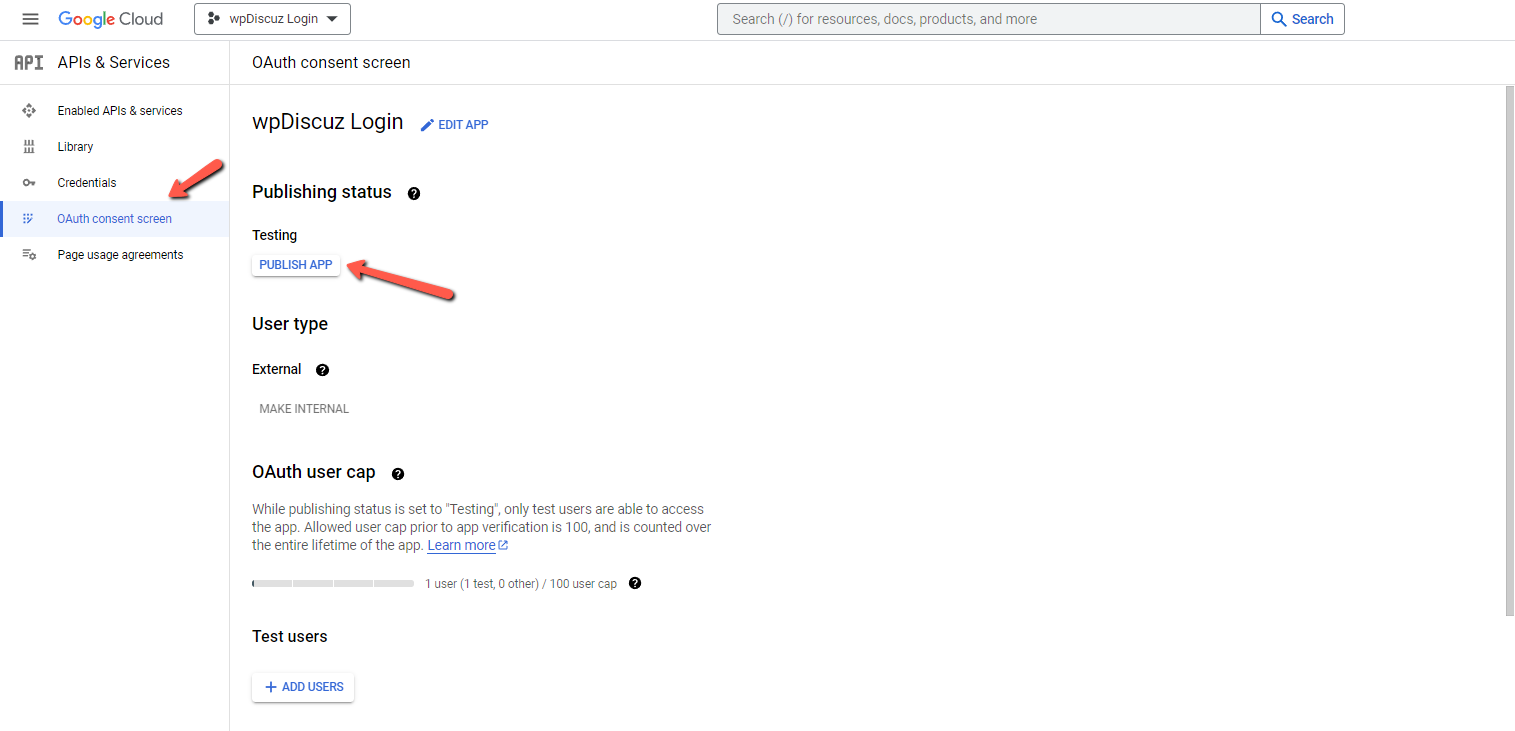
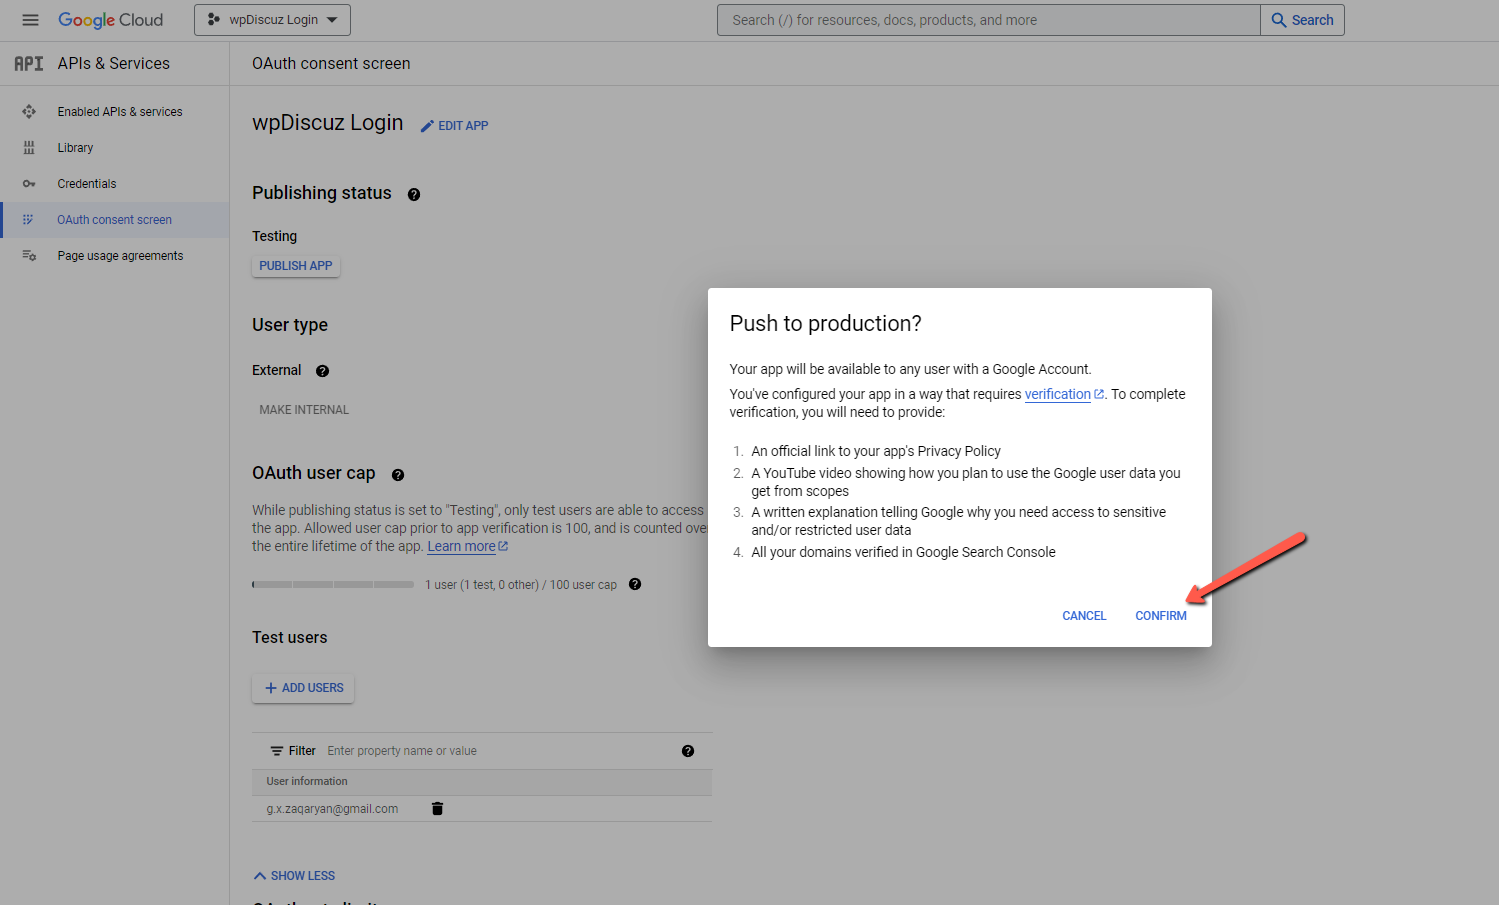
15. To get the social login available for regular users, you’ll need to publish the app in the OAuth Consent Screen using the according button and make a confirmation.
2. Verification
1. Now, You need to check the verification status and “PREPARE FOR VERIFICATION”

2. Check the information filled in the “OAuth consent screen” and click on the “SAVE AND CONTINUE” button
3. Again, in the “Scopes” section, you’ll need to check and click on the “SAVE AND CONTINUE” button
4. In the “Optional info” fill the necessary information
5. Finally you’ll need to check the agreement checkbox and submit for verification using the according button in the “Final Review” section.