Ready to try the next generation of comment system?
Your update is waiting!
Our team of developers are hard at work releasing updates that add dozens of new features, fix issues, tighten security and, in general, make your comment system better than ever. How do you update wpDiscuz without causing issues? We’ll cover a few of the common ways below, but first…
1. Backup your Database
There are many options to backup your database. You can do that using Backup plugins or do that manually as it’s described in WordPress Backing Up Your Database documentation.
2. Loosing old wpDiscuz template customization
If you don’t have wpDiscuz customized template files just skip this step.
If you’re updating from wpDiscuz 3, 4 or 5 versions to wpDiscuz 7, you should remove wpDiscuz custom template files from your active theme /wpdiscuz/ folder. We’re really sorry but you cannot use your customization for wpDiscuz 7. This is a major update with new comment layouts and template files, those are not compatible with old version of wpDiscuz template files. Use some FTP client or hosting service cPanel > File Manager tool to remove old template files. They are located in /wp-content/themes/active-theme/wpdiscuz/ folder.
3. Updating Addons
We’ve released new versions (7.x.x) of wpDiscuz addons to make those compatible with wpDiscuz 7. All old versions of addons are not compatible with wpDiscuz 7, because of new comment layouts and template functions. In order to avoid errors we recommend update all addons. If your license key is expired and you cannot update, please renew those addons at gVectors Store with 30% discount applied automatically at checkout page. Just make sure you’re logged-in in the store with your customer account.
4. Updating wpDiscuz Plugin
You can do the regular “one click” update in Dashboard > Plugins admin page.
5. Complete plugin update with Update Wizard
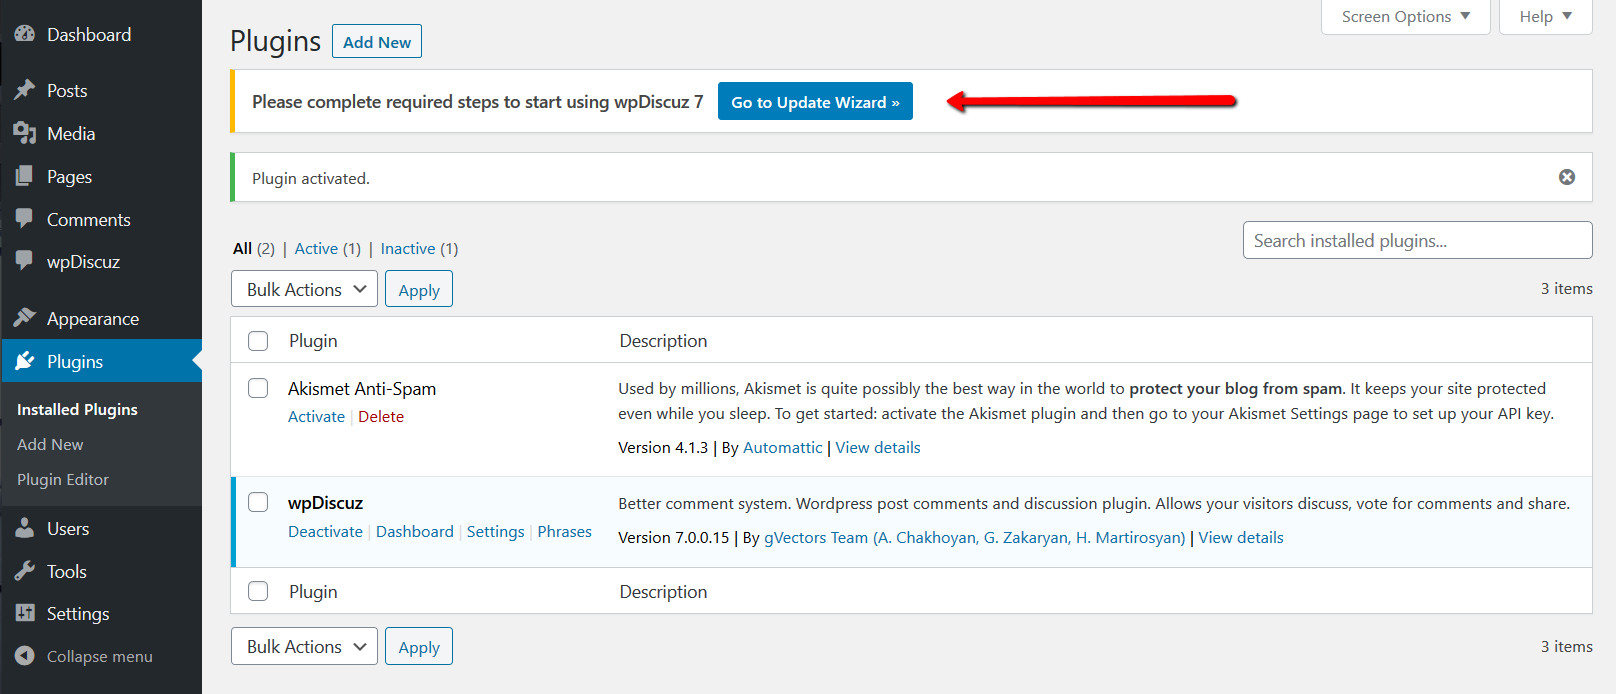
Once the wpDiscuz 7 is activated, you’ll see wpDiscuz Update Wizard button [Go to Update Wizard »]. Please click to open the Update Wizard. You’ll need go through three quick steps to configure the most important options before starting using wpDiscuz 7 plugin:
Update Wizard Step 1
Choose your preferred comment thread layout on the first step and click on [Next Step] button:

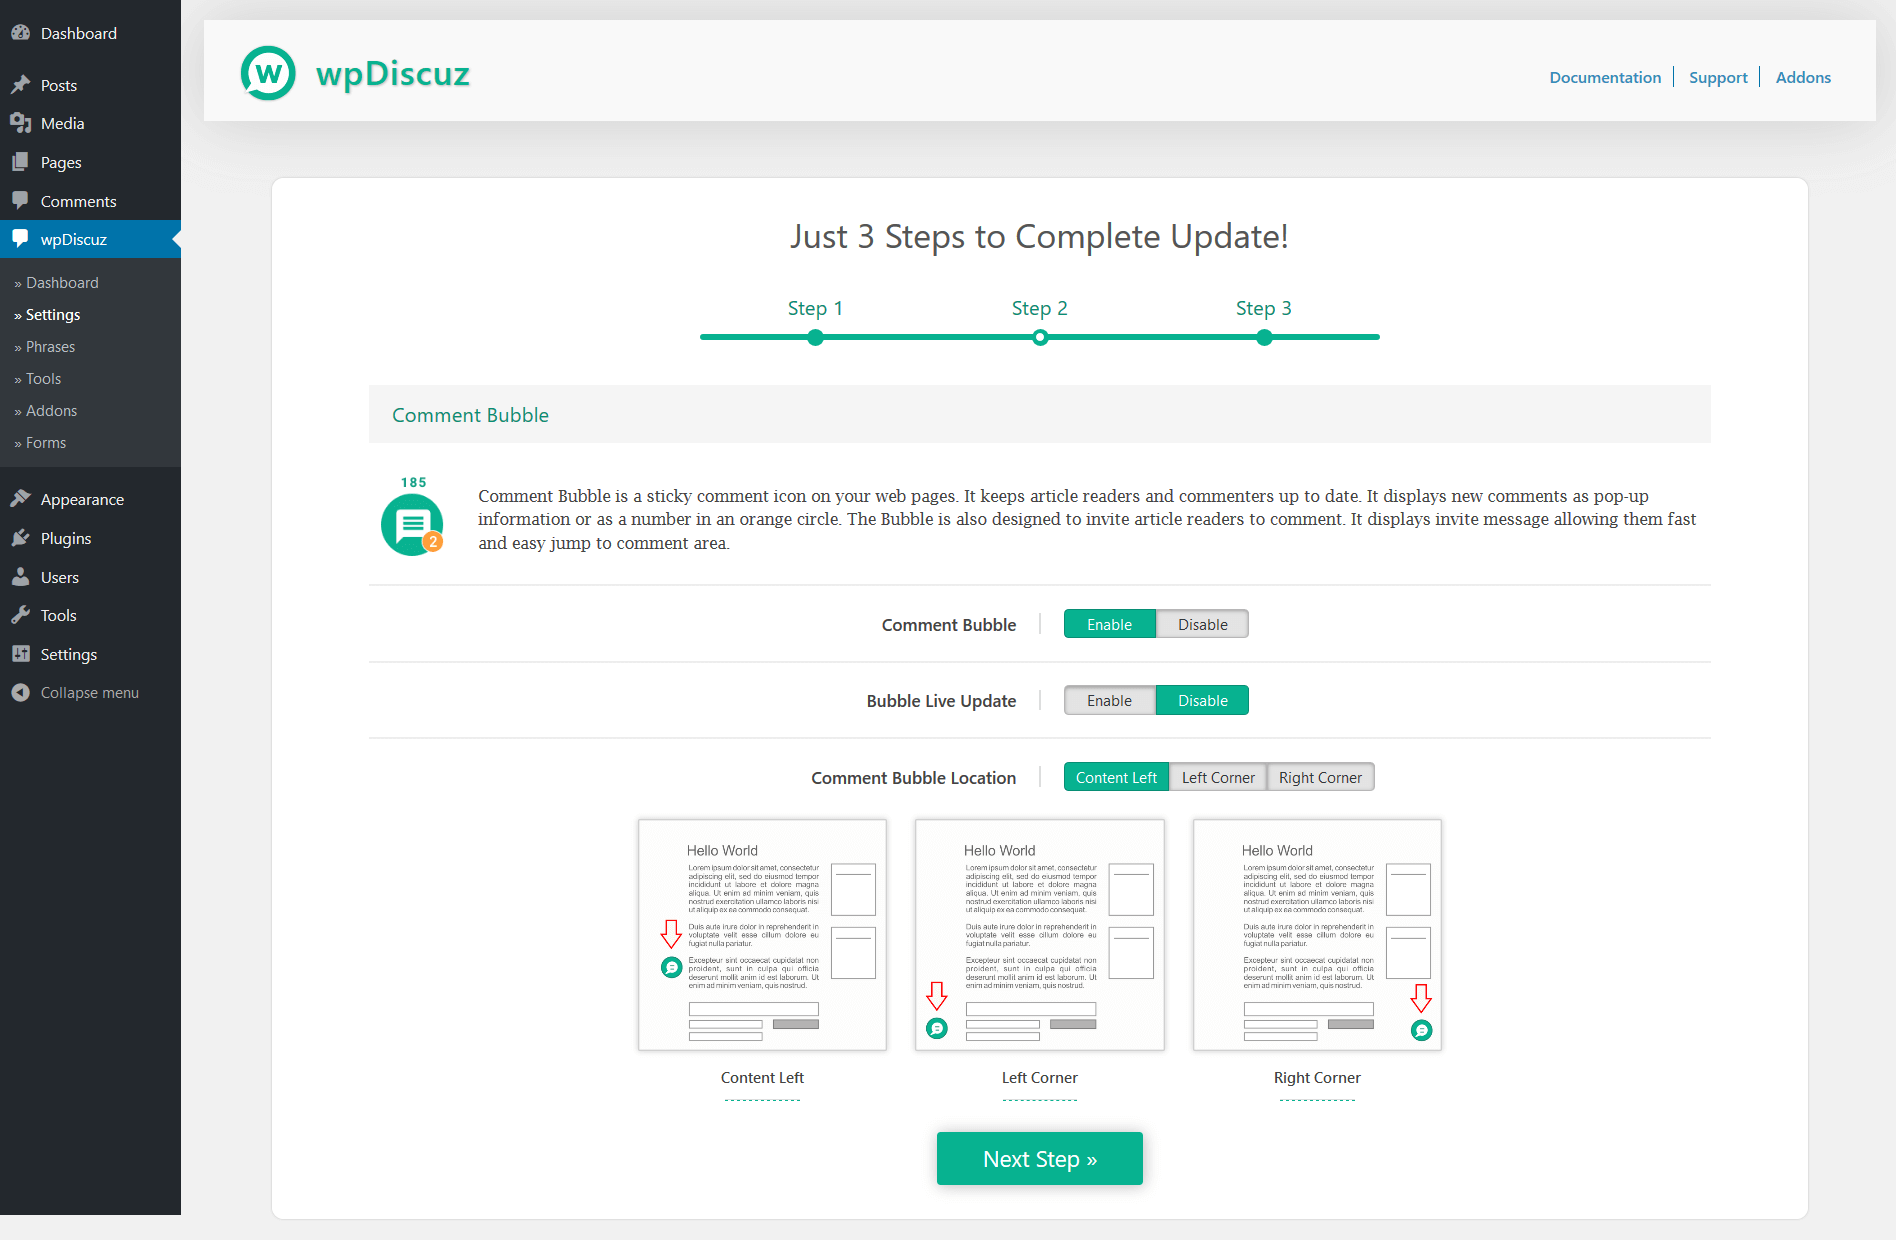
Update Wizard Step 2
Here you can manage Comment Bubble settings. You can turn it on and set the displaying location, then click on the [Next Step] button:
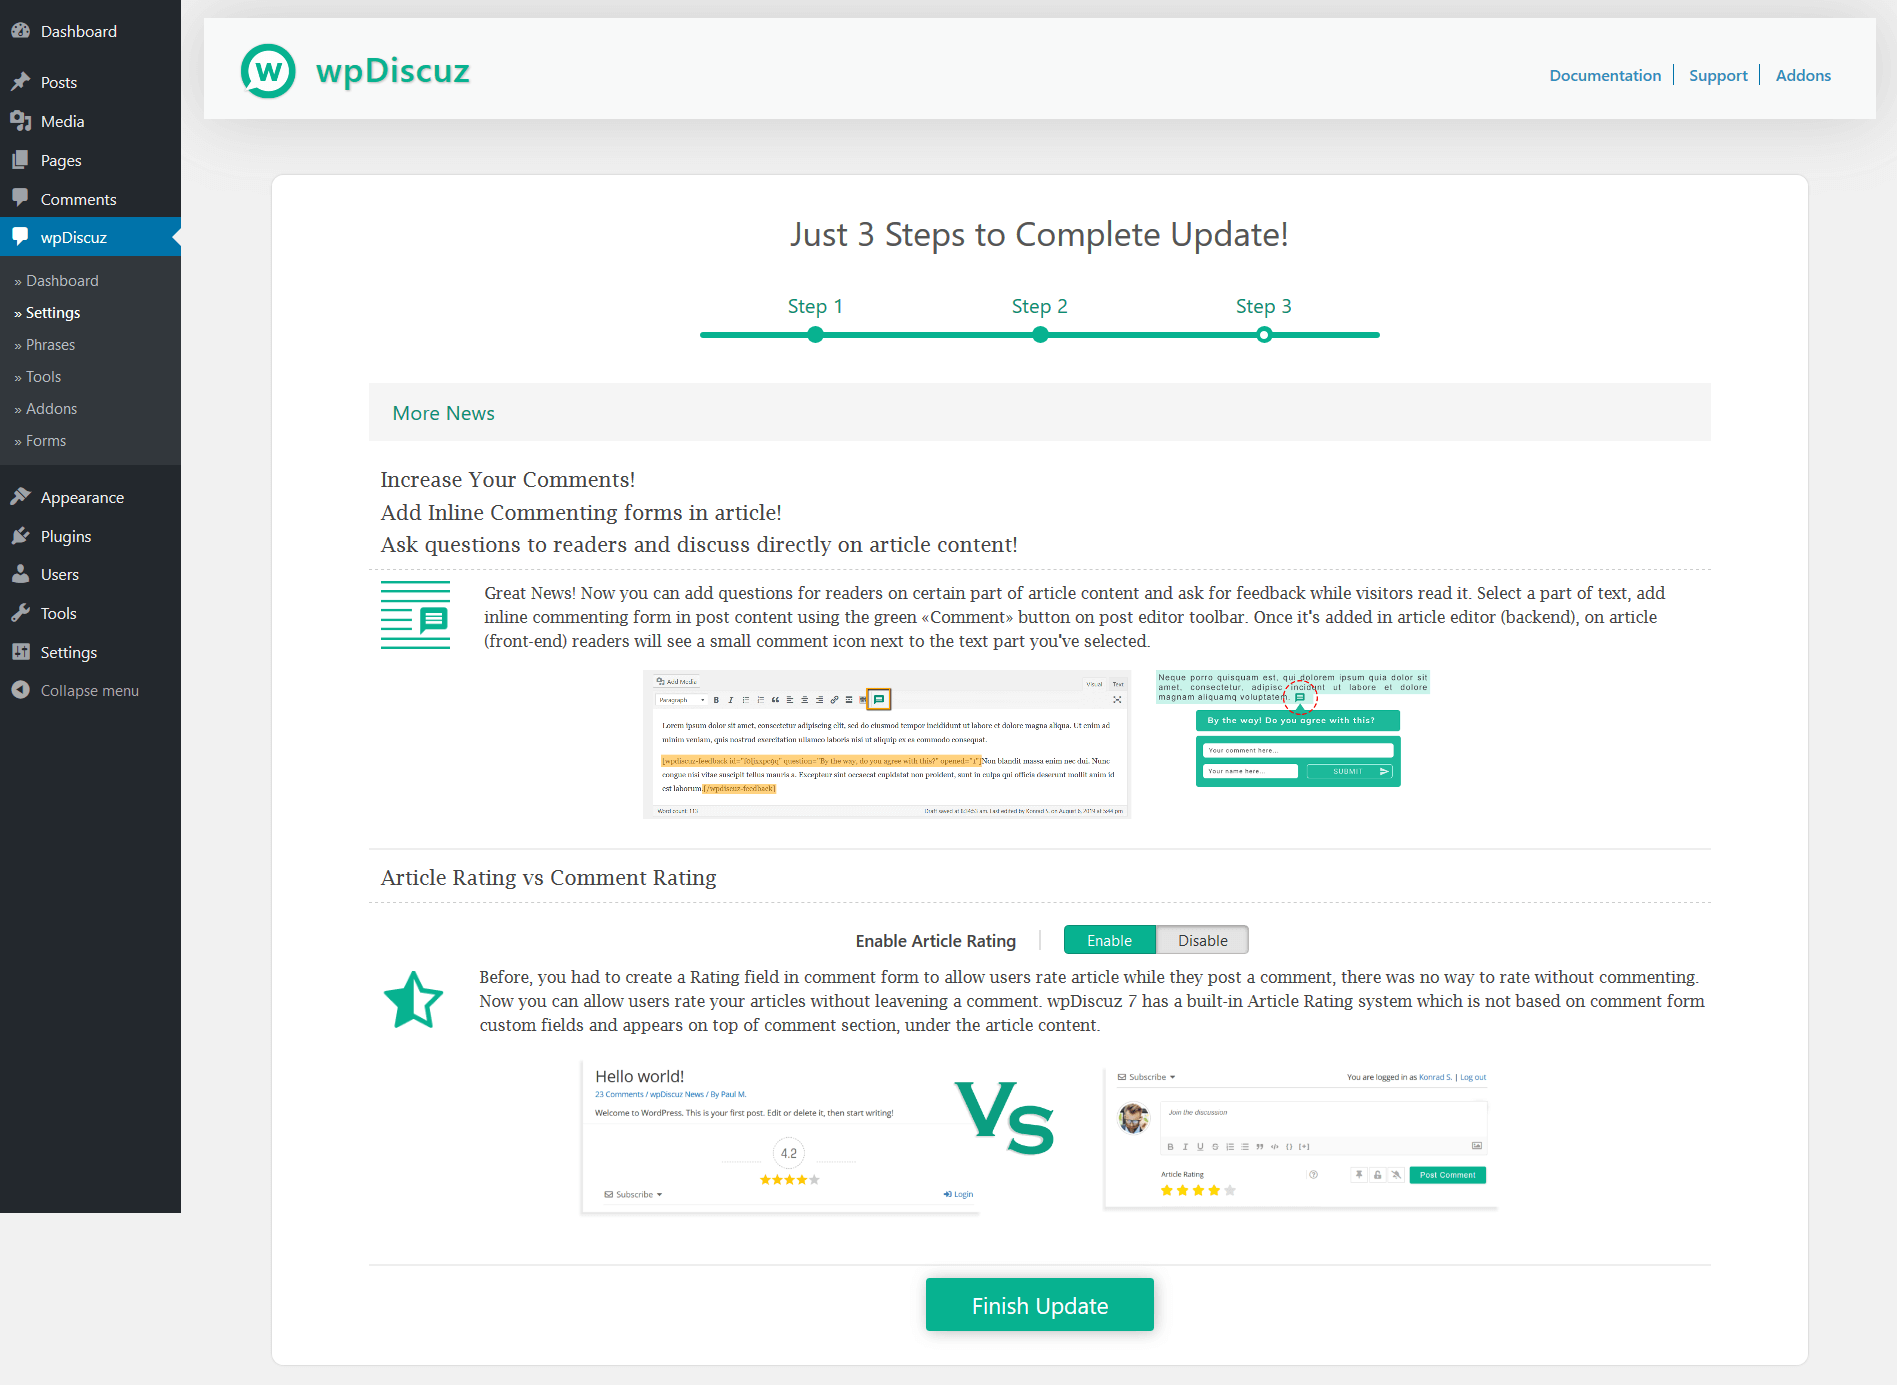
Update Wizard Step 3
In this step, the plugin introduces you new features, such as Inline Feedback and Post Rating. You can enable the Post Rating feature if you want and click on the [Finish Installation] button:
Once the installation wizard is finished, you’ll be redirected to Dashboard > wpDiscuz > Settings admin page. On the top of settings page you’ll see a button to start comment data optimization. This button synchronizes comment data and makes your comment system faster. Please click on the [Synchronize comment data] button, go to Dashboard > wpDiscuz > Tools admin page and start the data synchronization by clicking on following buttons:
- [Regenerate Vote Metas]
- [Regenerate Vote Data]
- [Regenerate Closed Comments]
- [Synchronize Commenters Data]
Problems During the Update
We’re ready to help you and fix those as soon as possible. Please open a support topic at gVectors support forum or contact as via support[at]gvectors.com email address. Our support team works from 6am till 6pm in GMT+0 timezone. Please be patient when you open a new support topic or when contacting us via email. We’ll get back to you within 3-12 hours.
I want to downgrade to previous 5.x version
To downgrade wpDiscuz, you should deactivate and delete wpDiscuz 7 plugin. Then download the previous 5.3.2 version ZIP file from wpDiscuz plugin page (use dropdown menu in Advanced View page). And install the ZIP file in Dashboard > Plugins > Add Plugin admin page.